Category: Bikepacking gear

  • Embracing the Little Escape – An overnight bikepacking adventure

    Embracing the Little Escape – An overnight bikepacking adventure

    Feeling stuck in the same old routine? Are you longing for a way to break free from the hustle and bustle of everyday life, even if just for a moment? Well, there’s no better remedy than packing up your gear, hopping on your bike, and setting off on an overnight bikepacking adventure.

    Every now and then, we gather the core essentials and set off on a bikepacking overnighter in Southern Sweden. Here’s why an overnight bikepacking journey could be exactly what you need to refresh your adventure spirit while limited on time.

    Bikepacking Overnighter What to Pack Farawayistan
    Lightweight Bikepacking Setup Overnighter Gravel Bike
    Bikepacking Overnighter Southern Sweden Skåne Gravel
    Bikepacking Overnighter Southern Sweden Gravel Skåne

    Bikepacking overnighter

    An overnight bikepacking trip is the perfect introduction to the world of bikepacking. You don’t need a full expedition setup to embark on adventures—all you need is a sense of curiosity and a willingness to explore. Unlike longer multi-day journeys, like this one, an overnight bikepacking trip is a great way to enter the world of bikepacking.

    With just a small day pack or saddlebag containing essentials like a toothbrush and change of clothes, you can experience the thrill of self-supported travel. And while some hardcore bikepackers may opt to spend the night under the stars in a bivy bag, there’s nothing wrong with treating yourself to a bit of comfort by booking a hotel room along the way. After all, a good night’s sleep can make all the difference when it comes to enjoying your adventure to the fullest.

    Gravel Sweden Fika Supermarket Coffee Farawayistan
    Gravel Sweden Fika Coffee Farawayistan
    Gravel Road Sweden Skåne Grus Route Rutter
    Sweden Skåne Nature Gravel Farawayistan
    Sweden Skåne Nature Gravel Road Farawayistan

    Little Escape in Skåne

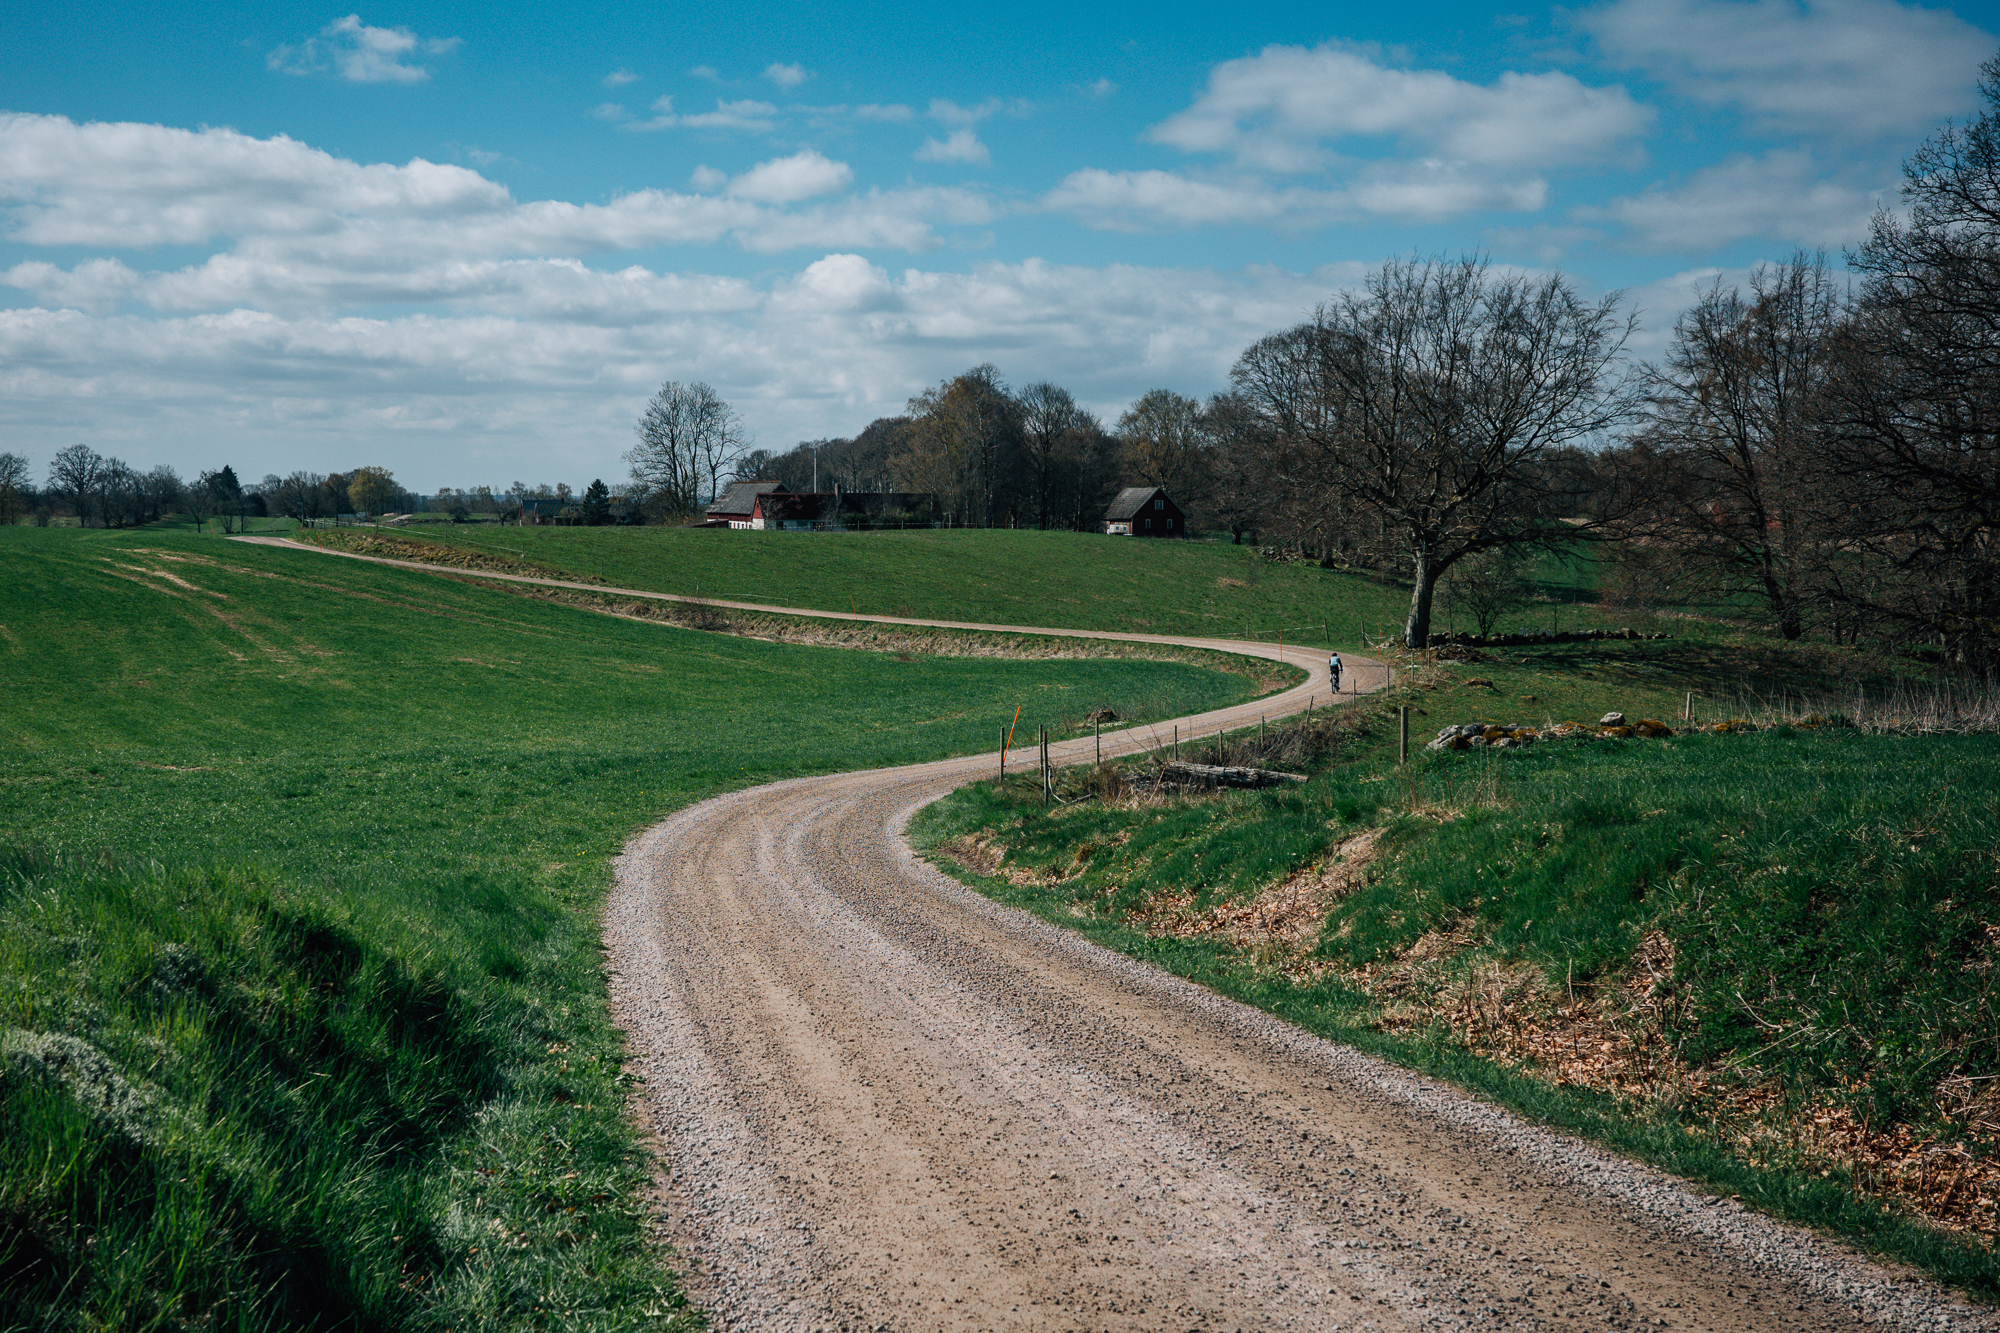
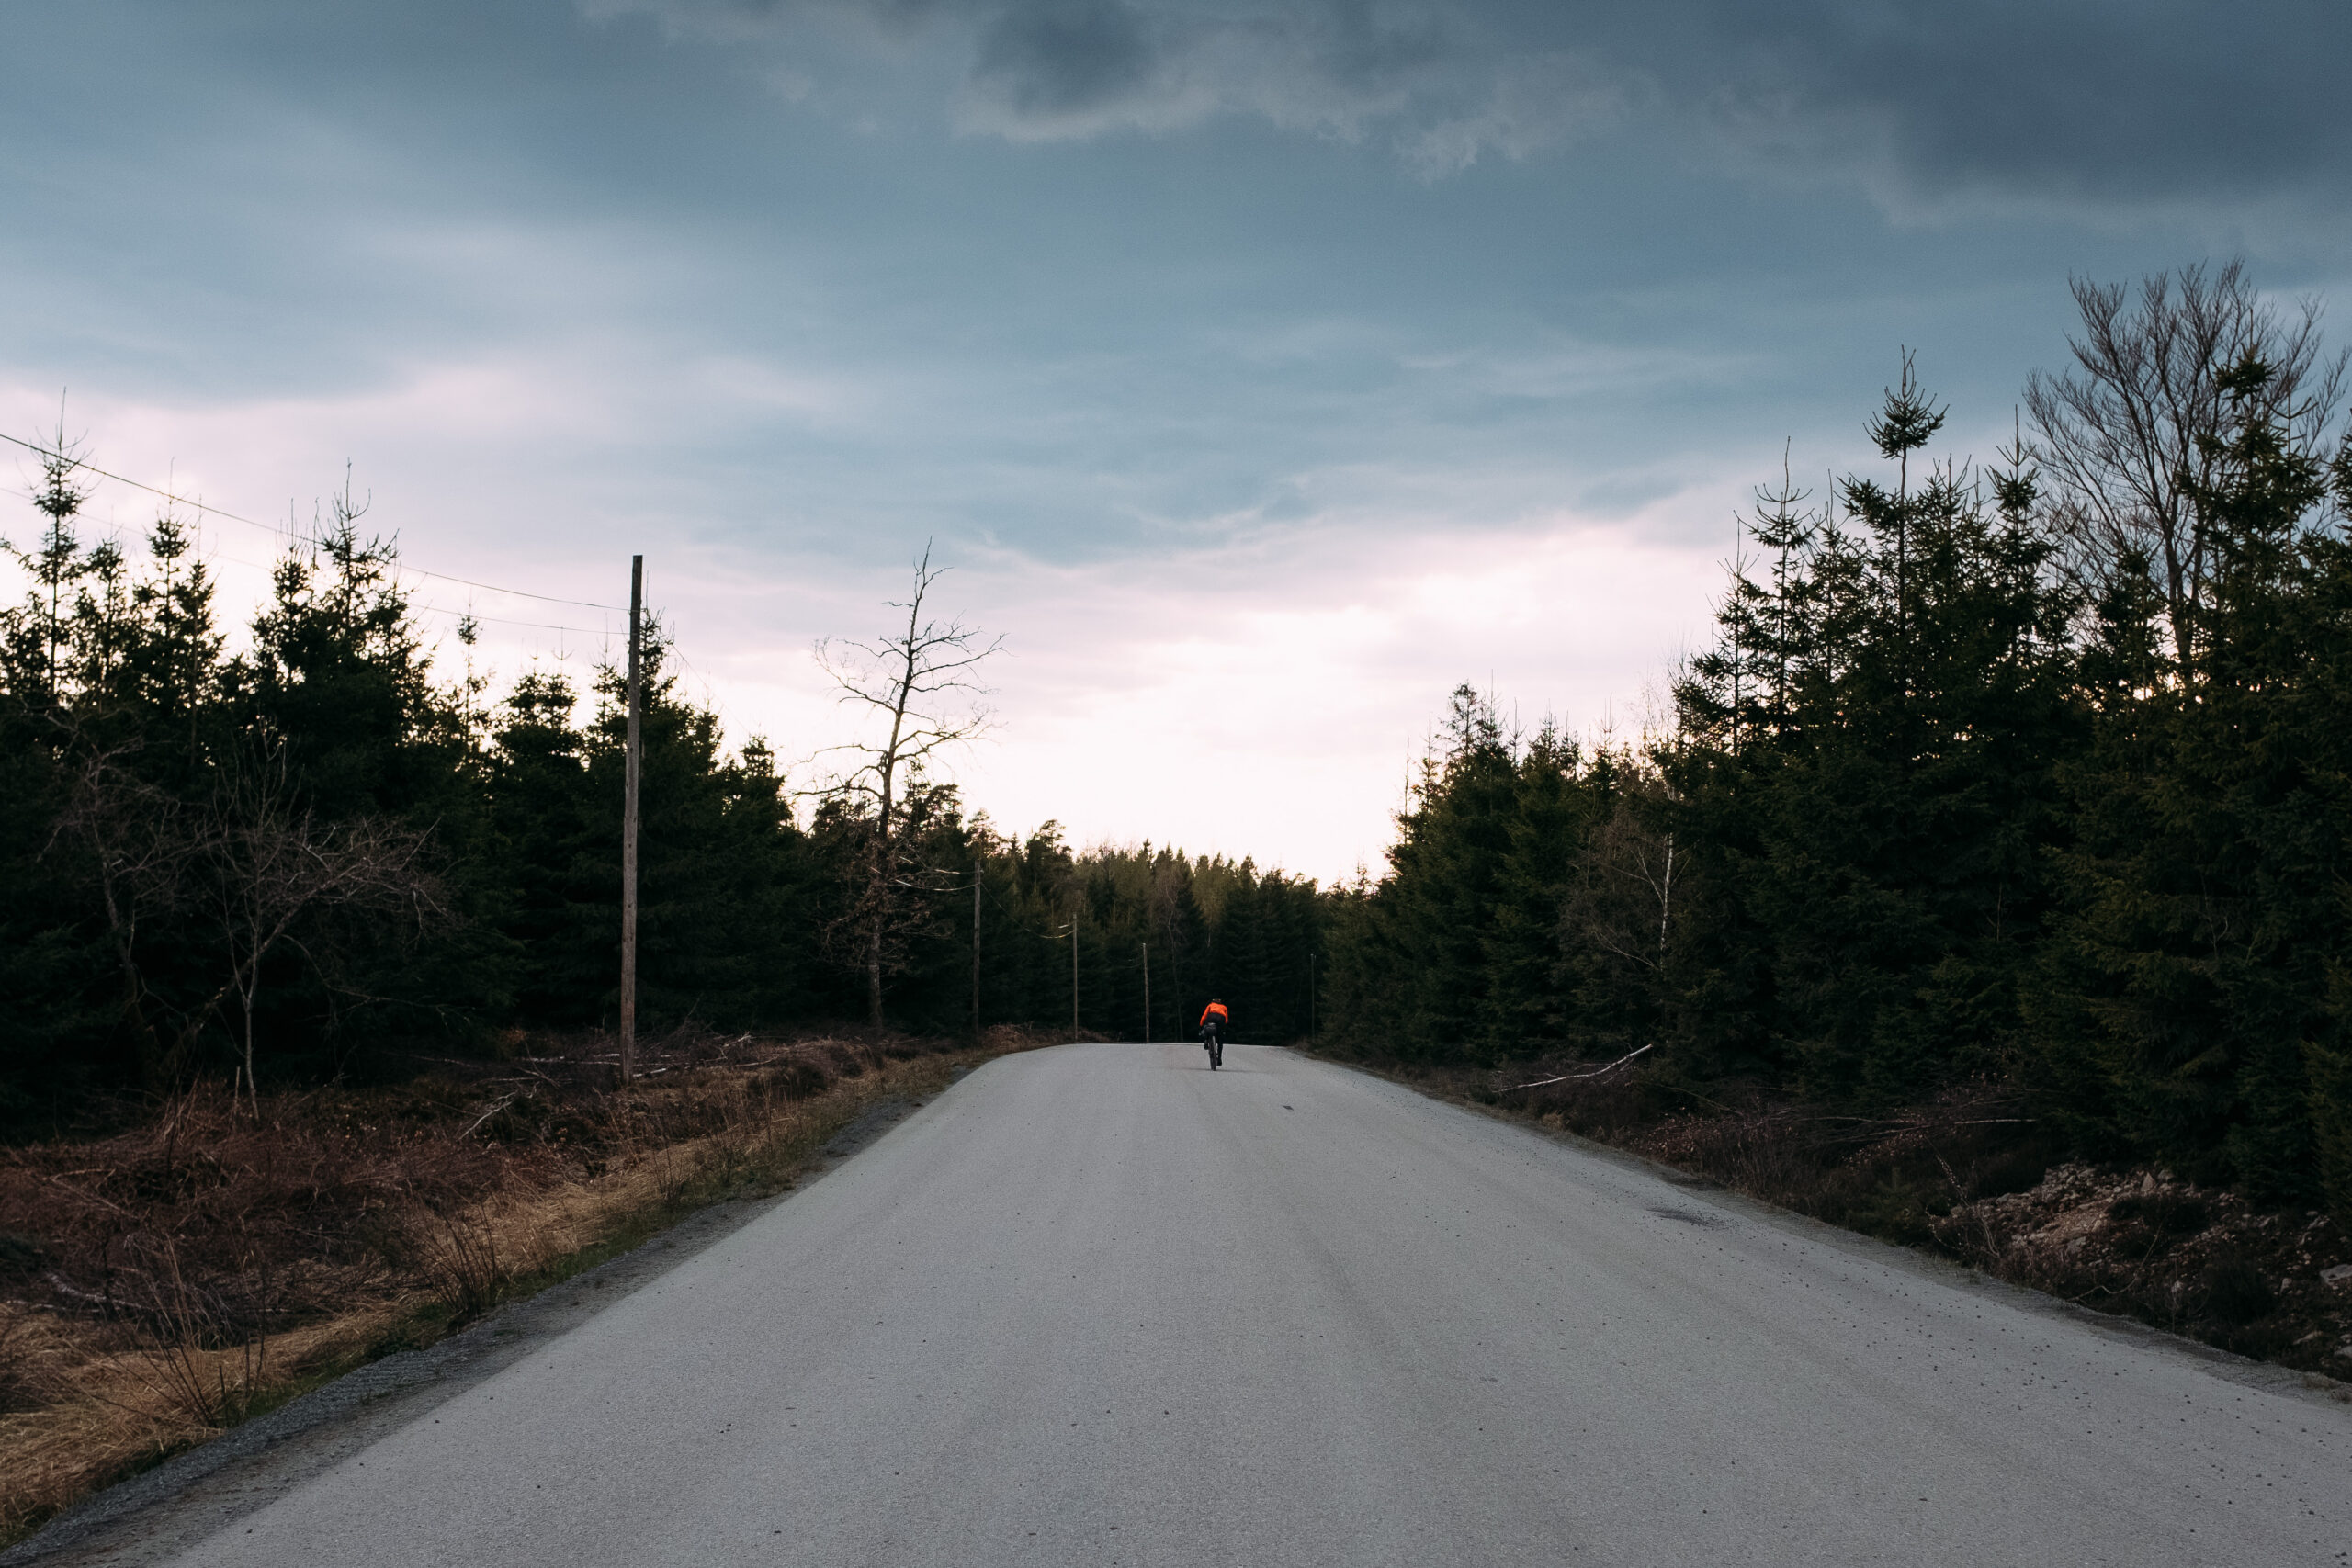
    Check out these snapshots from our overnight bikepacking adventure in Southern Sweden with a friend! I’ve always fantasized about traversing Skåne diagonally, from coast to coast, covering roughly 100 kilometers each way. Instead of rushing back and forth in a single day, we decided to treat ourselves to a cozy bed and breakfast. From stumbling upon new roads and breathtaking scenery to indulging in supermarket ice coffee and savoring pizza with a glass of wine, our escapade was packed with fun in under 5 hours! After a refreshing shower and a restful night’s sleep, we geared up for another day of pure bikepacking-fun—despite battling relentless headwinds throughout. It was definitely a little escape, but oh-so-worth it!

    Gravel Bike Tires Sweden Skåne Farawayistan
    Gravel Roads Skåne Sweden Farawayistan

    Follow all our adventures on Instagram.

  • N+1 – Mason InSearchOf, a bikepacking dream bike

    N+1 – Mason InSearchOf, a bikepacking dream bike

    Our latest addition to the bike park, The Mason InSearchOf has quickly proven to become the talk of the town. And the trails! This rigid steel drop bar mountain bike made for bikepacking catches everyone’s eye with its oversized tires and sleek look. 

    But why a new bike? Well, why not! Simply following the rule of N+1, the correct number of bikes to own is N+1. But there were a few other good reasons for purchasing a brand-new workhorse. Or better said, I self-designed a few good reasons.

    Mason InSearchOf bikepacking bags
    Huge tire clearance Mason InSearchOf
    Bottom bracket Mason InSearchOf

    Drop bar mountain bike versus a gravel bike

    After 10,000+ kilometers on my 3T Exploro aero gravel bike, I’ve come to a realization. The Exploro might not be the right bike for off the grid-bikepacking adventures. The racey geometry, the limitation of max. 42 mm tire clearance (with 700c wheels) and no mounts on down tube and fork made me long for a new companion. And there was one candidate who checked all my boxes: The Mason InSearchOf bikepacking bike.

    Mason ISO InSearchOf bikepacking setup
    Mason ISO handlebar bag aero bars
    Sinewave Beacon light Mason ISO InSearchOf
    Mason InSearchOf ISO tire clearance

    The Mason InSearchOf bikepacking rig

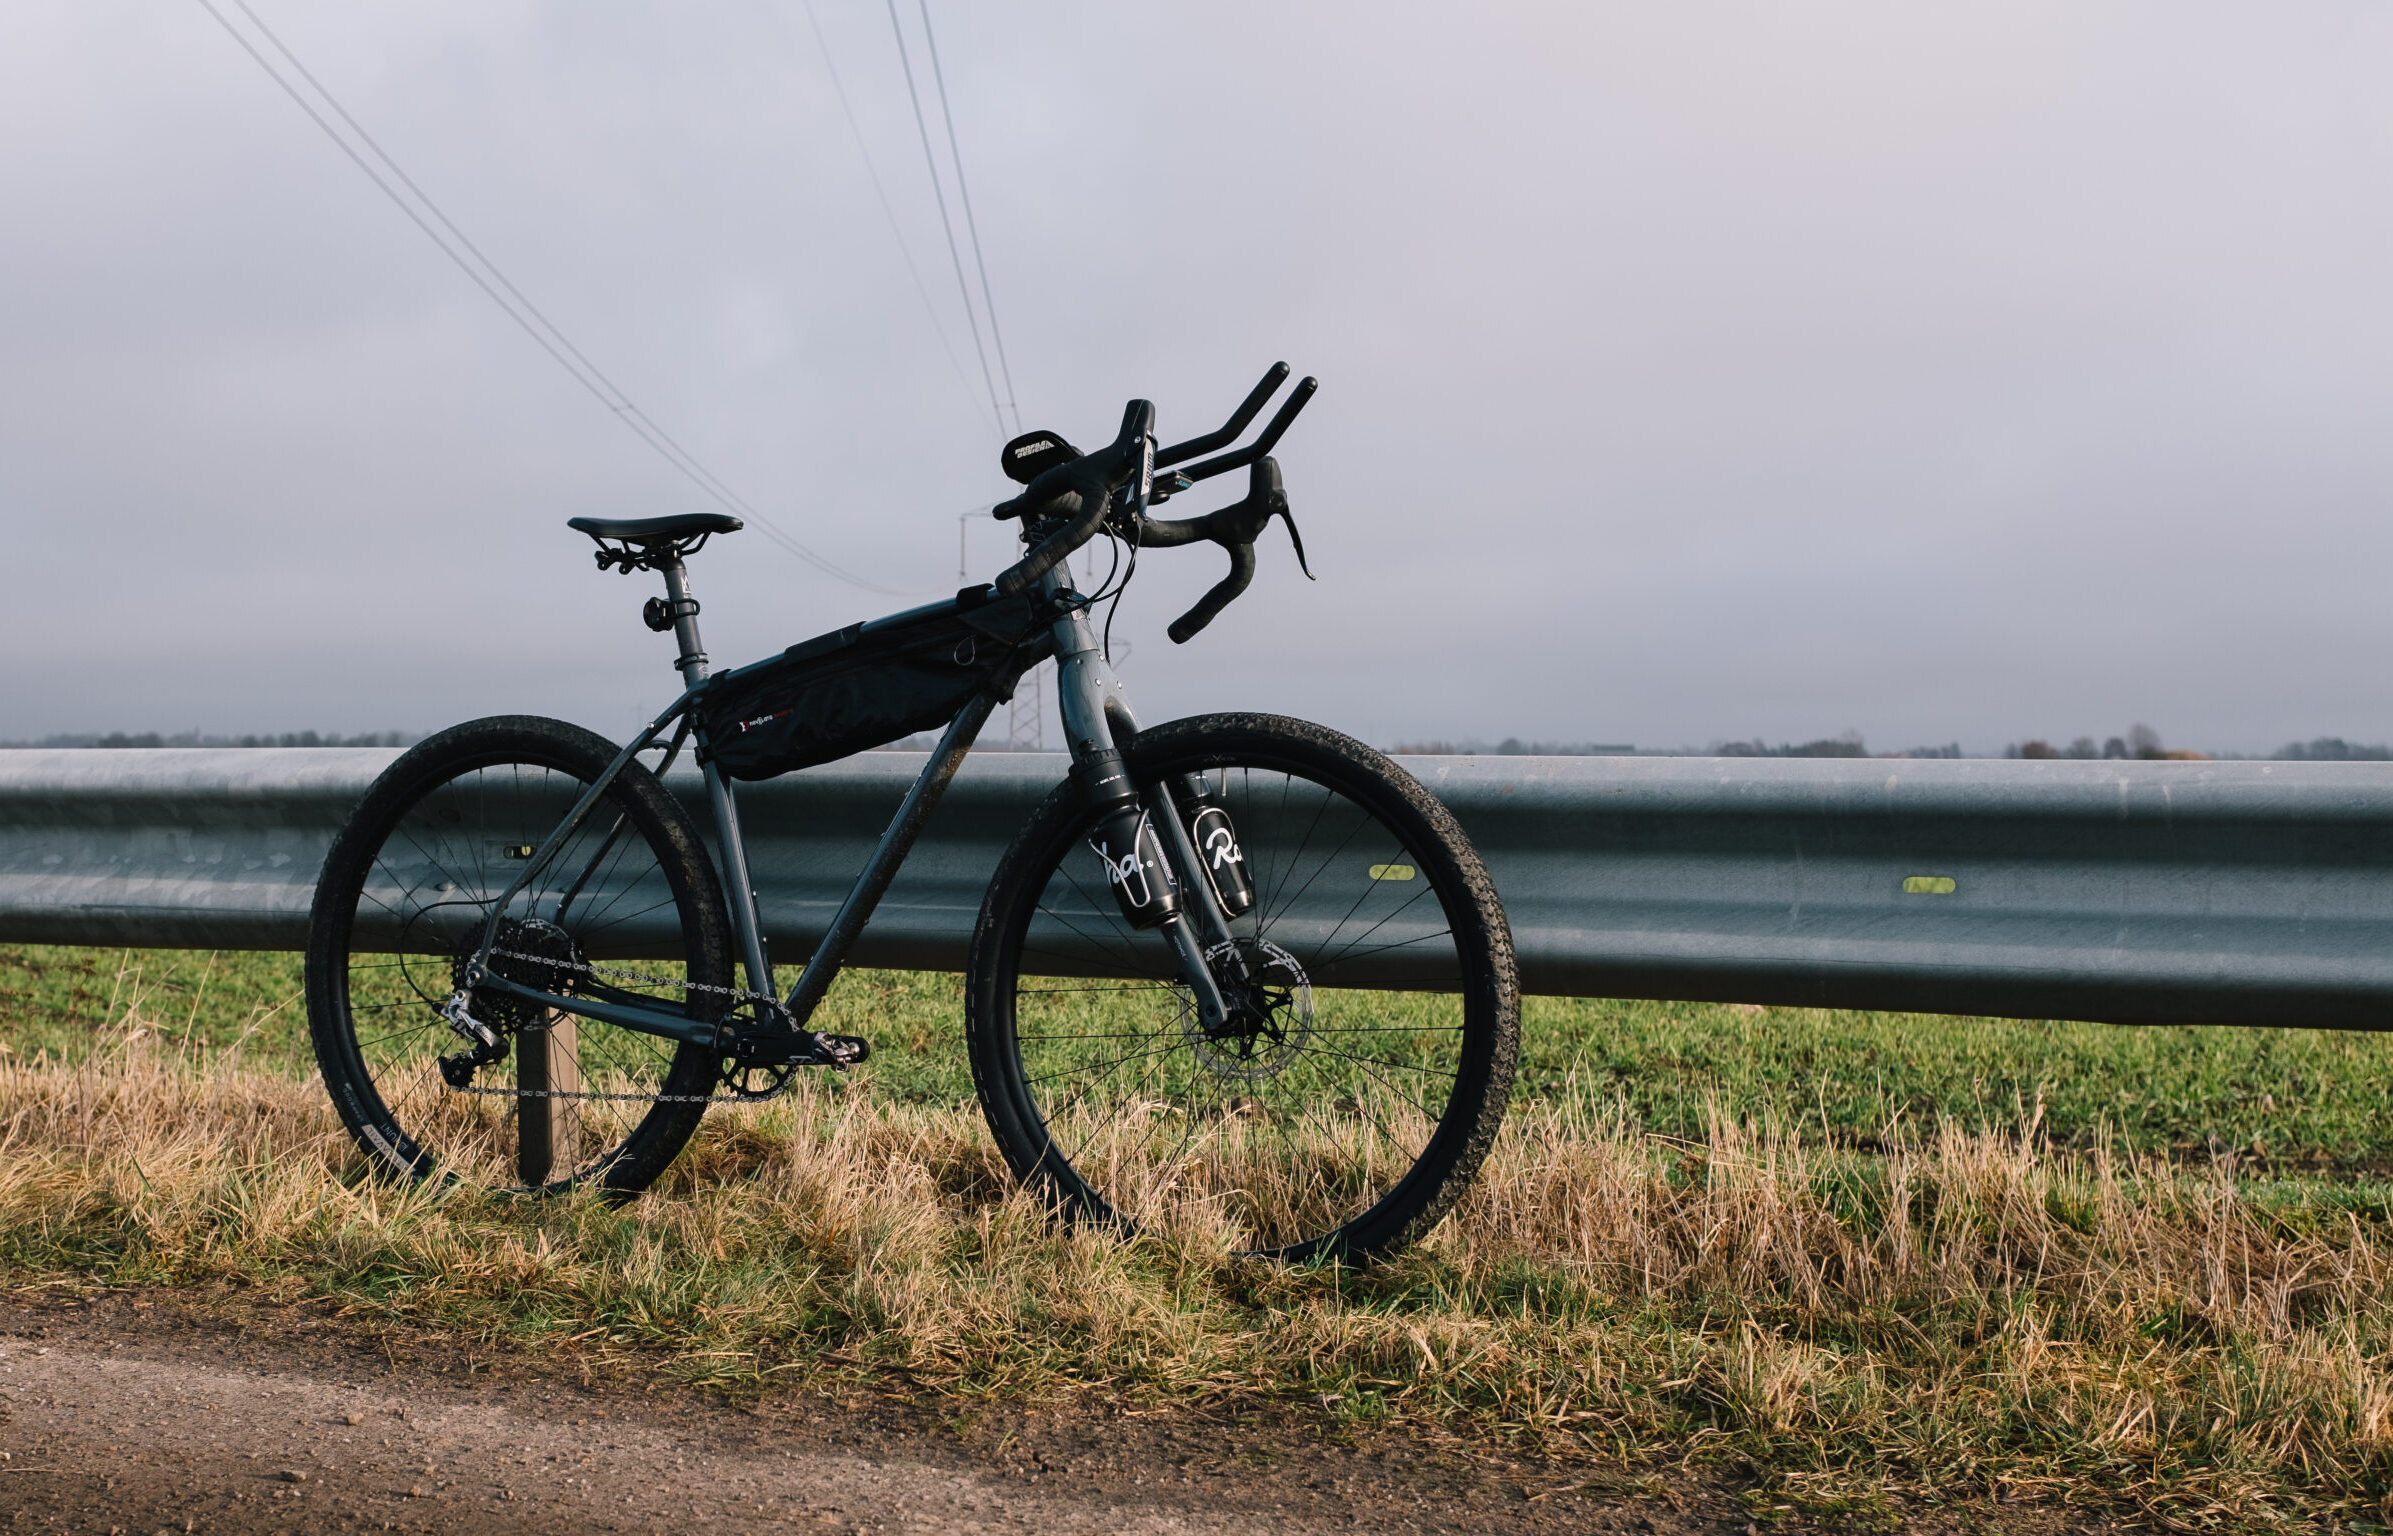
    It is obvious why the Mason ISO triggers responses. It’s safe to say that the bend on the frontside, exorbitant tire clearance, radical full carbon ‘HotShoe Fork’ and mega dropbar can be called pretty unusual. But what kind of bike is it, and why do I like it so much? The bike – made of steel – is a bikepacker’s dream, it rides stable and comfortably in rough terrain.

    ’I am a huge fan of steel bikes. I personally love the look of the frames and the shapes of the tubes. The distinctive kink in the frame reminds me of my good old Avaghon X29, which escorted me from Georgia to India’.

    Mason ISO InSearchOf handlebar bikepacking cockpit
    Mason ISO saddle bag Revelate Designs Spinelock

    The frame is made of Dedacciai ZERO tubes. To add a little extra strength the seat tube is made of Reynolds 853 tubes. One of my favorite qualities is the boost spacing. With just 6 mm extra, boost spacing allows for much bigger tire clearance than the standard 142 mm spacing. With a max clearance of 29 x 2.4” or 650b x 2.8” the bike tackles those rough and rocky Moroccan singletrails without any problem.

    Besides these obvious features, there are innumerable little details to be found. An abundance of lugs and mounting points and internal cable routing through the fork for a dynamo powered light to name a few.

    Mason InSearchOf ISO bikepacing offroad bike
    Mason InSearchOf ISO steel Dedacciai frame
    Mason ISO InSearchOf steel frame fastfar
    Mason InSearchOf ISO steel Reynolds 853 frame

    Bikepacking build

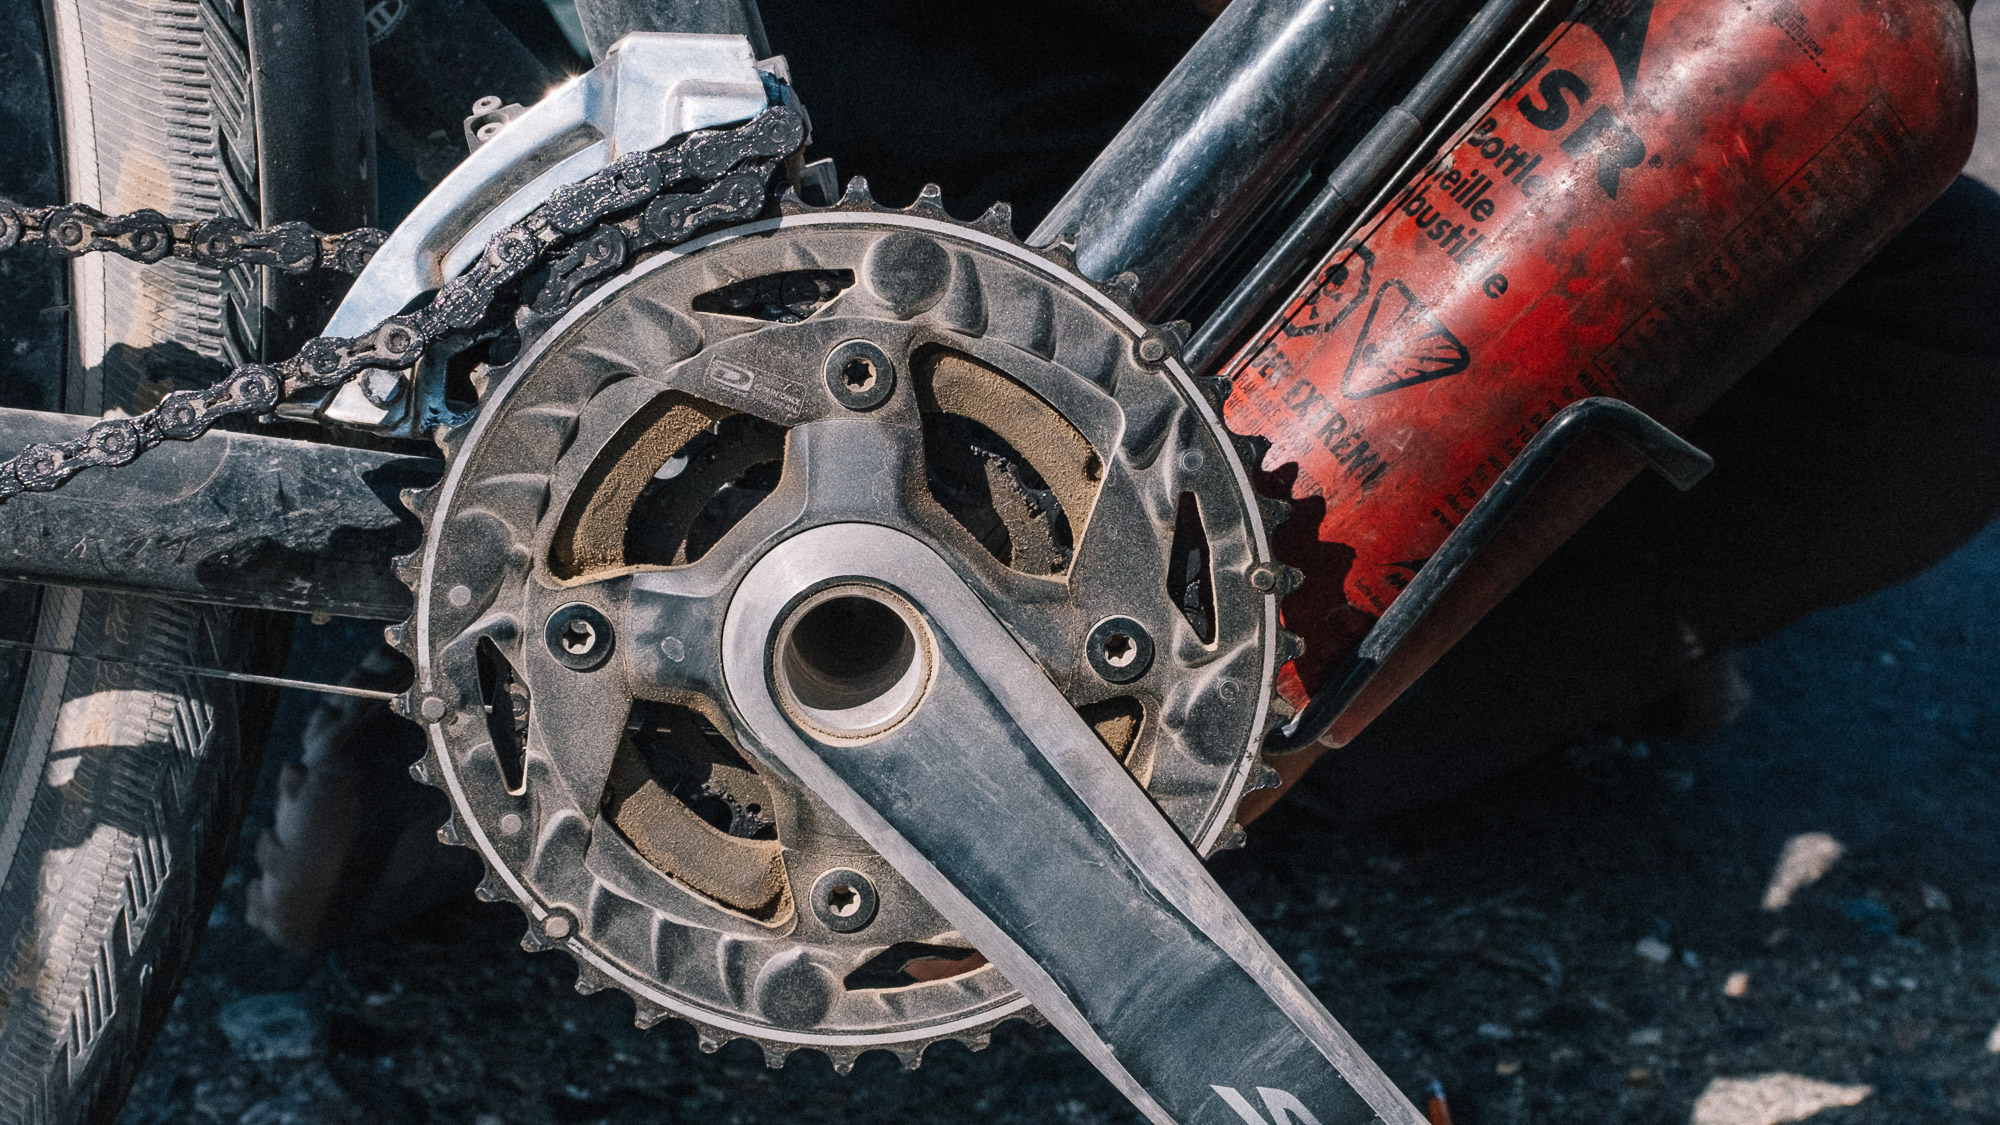
    The frame is finished off with a Sram Rival 1X group set. Simple, solid and easy to fix, so perfect for adventures in remote places. The 34T crank set combined with a 10-42T cassette allows me to spin fast enough to get over steep hills. Also when fully loaded with bikepacking bags.

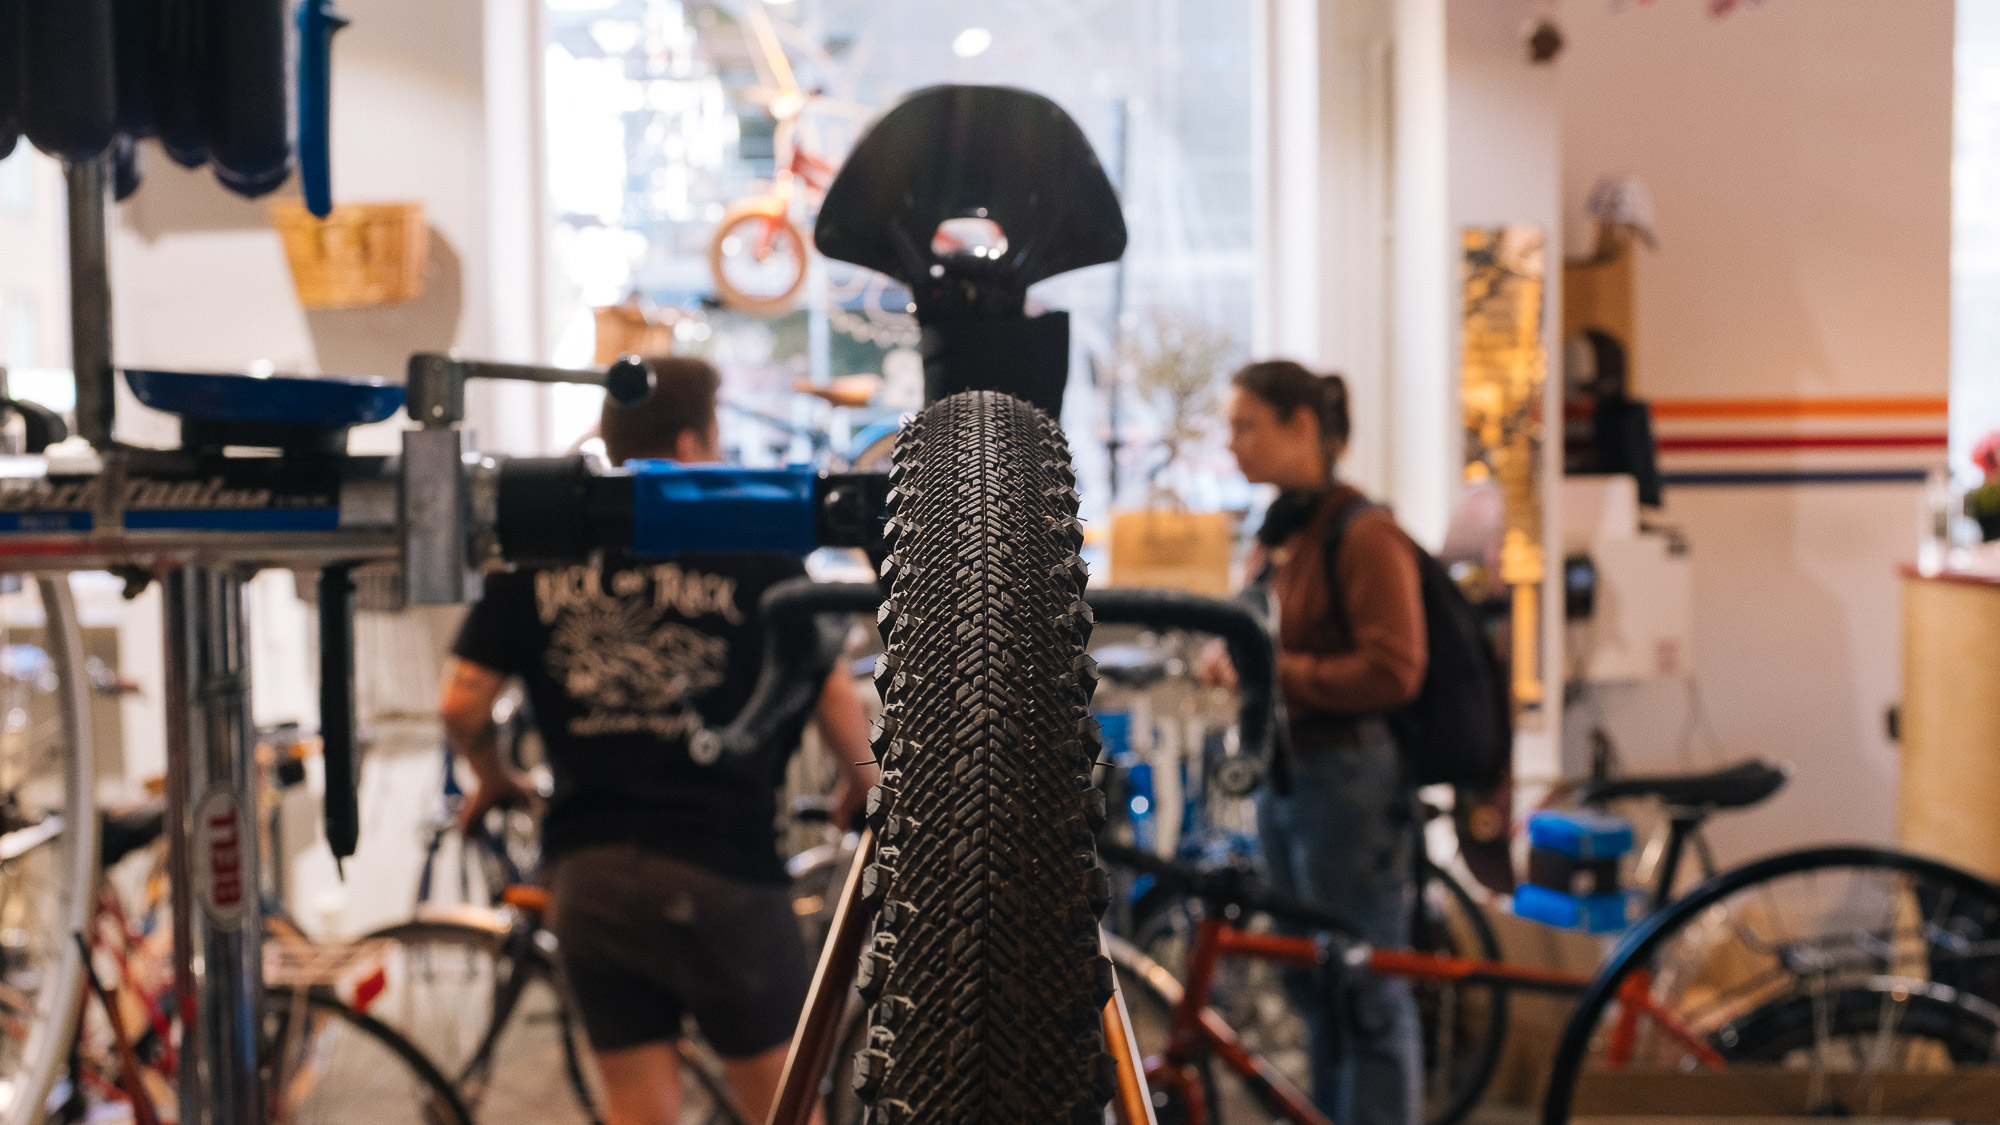
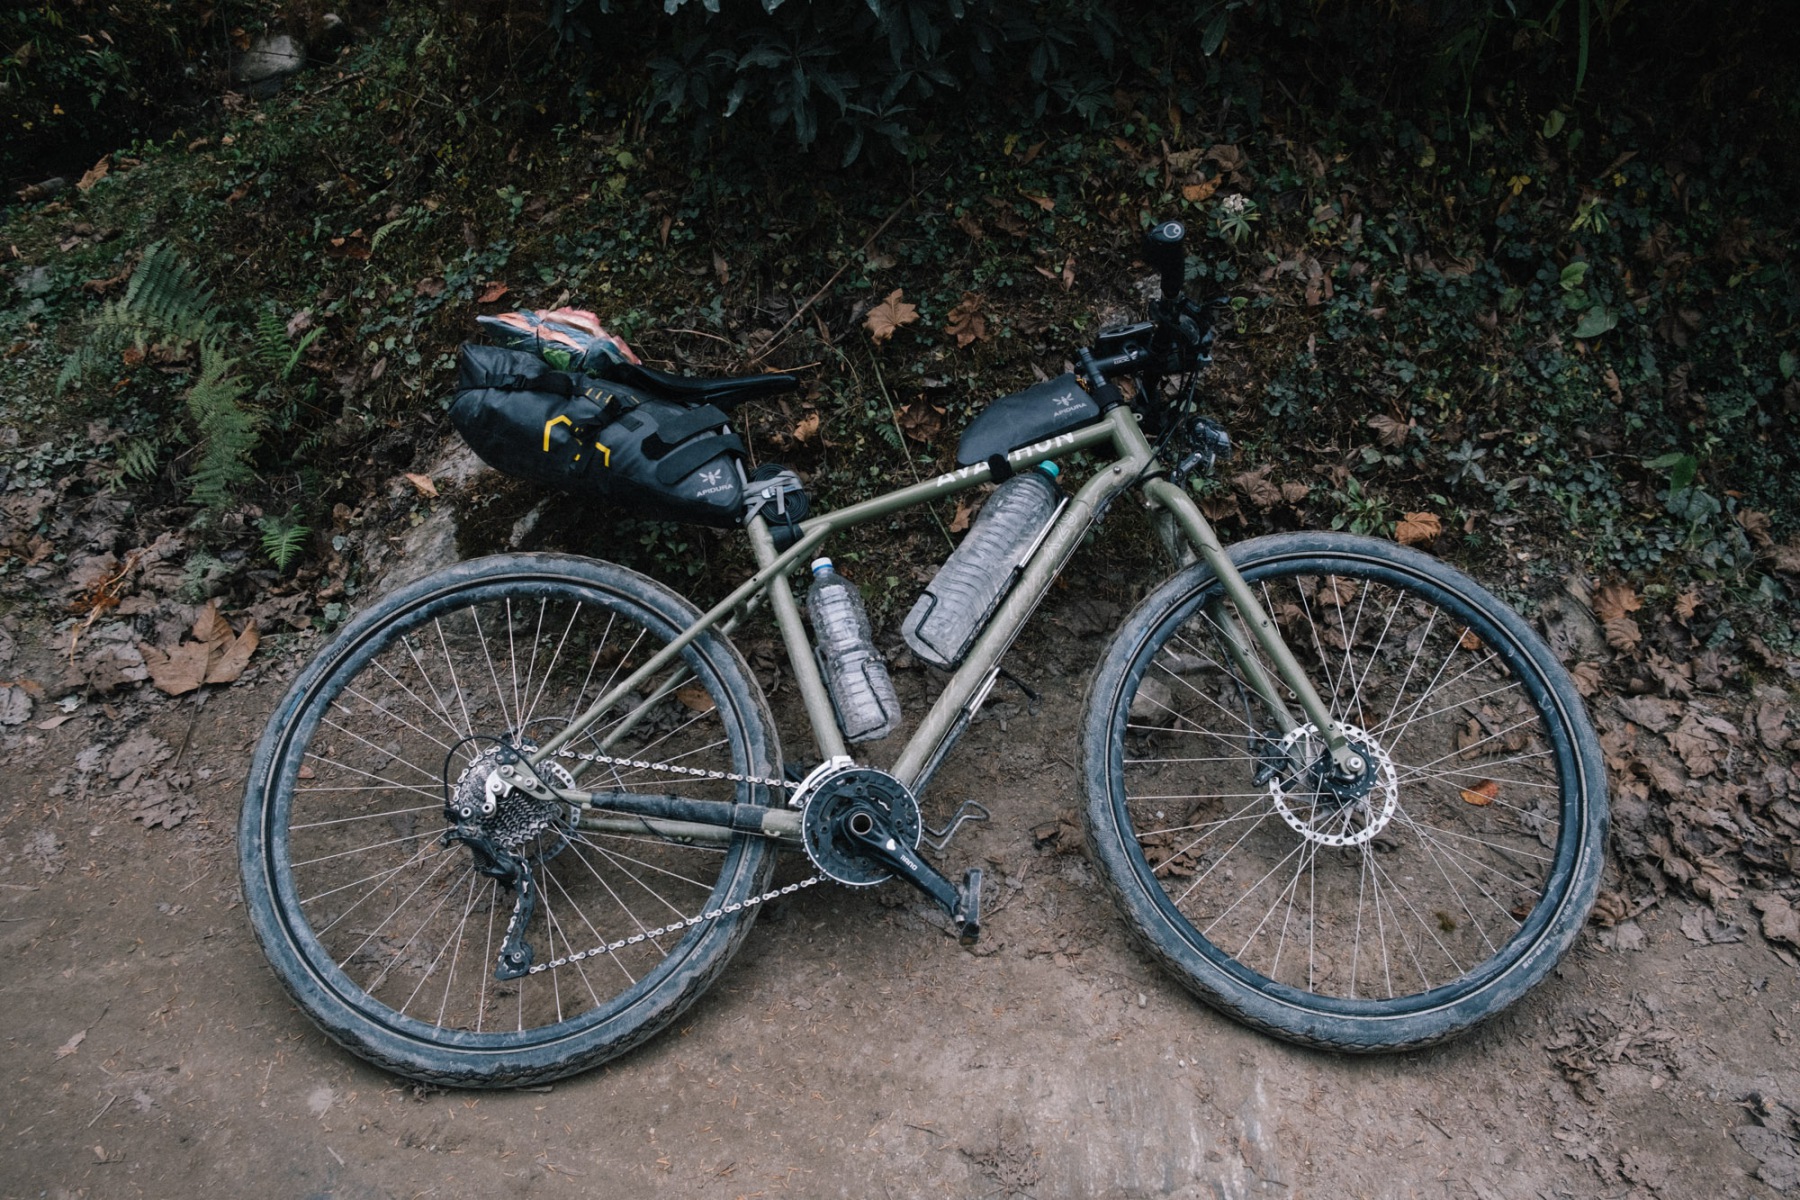
    The Mason x Hunt The Search Son Dynamo wheel set paired with Teravail Sparwood tires rolls pretty nicely. Both on gravel and pavement. The Son dynamo is connected to a Sinewave Cycles Beacon front light, which also works as a USB-charger. Equipped with Revelate Designs bags and some other attachments like the Profile Design aero bars and King Cage bottle cages, and the bike is ready for ultra racing and bikepacking adventures. Ready for the Trans Balkan Race, L’Esperit de Girona and Atlas Mountain Race.

    Mason ISO InSearchOf Teravail Sparwood tires tyres
    Mason ISO InSearchOf carbon fork hotshoe fork
    Mason ISO InSearchOf SRAM Rival groupset
    Hunt wheels Teravail Sparwood tires tyres
    Mason Hunt wheels Teravail Sparwood tires tyres
    Mason ISO InSearchOf Hand Crafted UK Designed

    Follow all our adventures on Instagram.

  • Lightweight bikepacking set-up – 3 day bikepacking trip in spring

    Lightweight bikepacking set-up – 3 day bikepacking trip in spring

    Every trip we take our bikepacking set-up gets lighter, and we manage to slim down our lightweight bikepacking set-up. After experiencing how hard it was to push a heavily loaded touring bike through mountainous terrain, we turned saving grams into an art form. Here is what we brought for a three-day bikepacking trip.

    When the temperatures here in Sweden finally rose above double-digit numbers, we packed our gravelbikes for a three-day bikepacking overnighter in central Skåne. It was our first time riding the 3T Exploro gravelbikes with bikepacking bags strapped to them, and we were pleasantly surprised that the handling wasn’t that affected by the extra weight. Just the turns felt a tiny bit slower. Of course we packed them much lighter than we did for our year-long endeavour. The carbon frames also offer way less space for mounting than our heavy-duty steel touring bikes.

    Robin of Farawayistan rides Swedish gravel roads
    Typical Swedish gravel road, also known as sportgrus
    Fantastic gravel road in Skåne, Sweden

    Bikepacking bags on a gravelbike

    Robin used the following bags:

    – Revelate Designs Sweetroll Handlebar bag

    – Egress Pocket Handlebar bag

    – 2 Revelate Designs Mountain Feedbags

    – Revelate Designs Mag-Tank Top tupe bag

    – Apidura Backcountry Saddle bag


    Sabina’s set-up looked like this:

    – Apidura Backcountry Handlebar bag

    – Apidura Backcountry Food pouch

    – Apidura Expedition Top tube bag

    – Ortlieb Roll-top Frame-Pack

    – Apidura Expedition Saddle bag

    Cockpit with Revelate Designs bikepacking bags on the 3T Exploro
    Close up of the Apidura Backcountry Saddle Pack on the 3T Exploro
    The 3T Exploro Team Speed with bikepacking bags

    Bikepacking sleeping set-up

    We are still using the same sleep system as on our previous adventures. Warm, comfortable and durable. The Sea to Summit sleeping bags, pads and pillows are not the lightest, but they have been keeping us warm and comfy while being under heavy use for two years already.

    It is also not the weight that matters the most when it comes to a lightweight bikepacking set-up. It’s the volume of the gear that you want to be as small as possible. This is definitely something that we want to improve on our kit list. The pad and the bag are still quite bulky. We both carried our sleeping gear in the handlebar bag and strapped to the handlebar. 

    Since we could sleep in wind shelters, we didn’t bring a tent. That saved us a lot of packing volume and a bit of weight. We carried our silk liners, but with nighttime temperatures just below zero, it would have been better to use fleece liners. Just to take the chill off.

    Our sleeping kit:
    – MSR Universal Footprint
    – Sea to Summit Comfort Plus Insulated sleeping pad
    – Sea to Summit Spark III sleeping bag (Robin)
    – Sea to Summit Flame III sleeping bag (Sabina)
    – Sea to Summit Aeros Pillow Down Regular
    – Sea to Summit 100% Premium Silk liner

    Sabina waking up in her warm and comfortable Sea to Summit outdoor sleeping gear
    Arrival at the campsite, a wind shelter in South Sweden
    Sabina pulling her Sea to Summit sleeping bag out her Apidura handlebar bag

    Cooking system for bikepacking

    After the fuel line in the MSR Whisperlite stove clogging up again, we have been trying out a few different cooking systems. Our favourite thus far is the Optimus Crux Weekend cook system. The lightweight set contains two pots, a super small, yet powerful stove and a gas canister. We even had room left inside the set to store matches and a small towel. Robin carried the set in a cargo cage, mounted to the down tube. Sabina forgot her spork in the Netherlands, so she just brought a fork from our kitchen drawer. We also had a Swiss army knife and Robin had his spork.

    Cooking oatmeal for breakfast with the camping stove
    Lightweight camping and bikepacking stove and cooking pot
    Optimus cooking pot bikepacking breakfast
    Sabina is cooking the ultimate breakfast while bikepacking: oatmeal

    Water on a bikepacking trip

    On this trip we regularly passed small towns with supermarkets, so we didn’t need to carry that much food and water. Perfect for a lightweight bikepacking set-up. Robin had two water bottles, and Sabina had one bottle and a 2l water bladder. Because Robin rode without a frame bag, he could fit one bottle in his frame. The other bottle he carried in one of the cockpit bags. Sabina kept her bottle in her food pouch and the bladder in her frame bag.

    Food for bikepacking

    Always make sure to reserve extra space for food. You’ll be surprised how much you eat during long days in the saddle. Food takes up a lot of space and is often relatively heavy. We carried our food in Sabina’s frame bag and Robin’s saddle bag. Snacks we keep ready to eat in the cockpit bags, so that refuelling is easy. That way we can keep the flow of incoming calories as easy as possible.

    For dinner, we ate out one night (because the supermarket was closed), and we had the Trek’n Eat freeze-dried meals the other night. Especially the Couscous with chicken was very tasty.

    Everything together, this was probably the lightest kitchen we ever had:
    – Optimus Crux Weekend cook system
    – Swiss army knife
    – Small towel
    – Spork, fork and Swiss armyknife
    – 3 water bottles
    – 2 litre bladder
    – Trek’n Eat meals
    – Oatmeal
    – Snacks and meals we bought along the way

    Fika coffee fika Sweden bikepacking Rapha
    Carrot cake as carb fuel while bikepacking

    Tools in a lightweight bikepacking set-up

    A toolkit can really make or break an adventure. The bare essentials of a kit are a multi tool, chain breaker and something to fix punctures. Now that we’ve both switched to riding tubeless, we also carry a plug just in case the sealant won’t do the job. And if that would also fail, we carry spare inner tubes as well. Better safe than sorry – you don’t want to end up walking to the nearest bus station. Other than that we only brought missing links and a spare tubeless valve, that Robin actually ended up needing.

    Our entire lightweight tool kit (except for the tubes of course) fits in a small tool wrap that Robin can easily fit in the rear pocket of his jersey. We stored the tubes in our saddle bags.

    Roadside fix of bikepacking bicycle
    How to fix puncture tubeless tire tools bikepacking
    Tubeless ready rim 650b bikepacking wheels
    Bikepacking tools fix

    Clothing on a bikepacking trip

    For clothing and accessories the risk of ‘over packing’ is the highest. It’s actually also the category of stuff where you don’t need that much of. Yes, you will be smelly after three days of riding and spending a few nights in front of a campfire. But that’s just the living proof you had a fun trip.

    For this weekend we brought one set of clothing for riding and one set for off the bike, which we also slept in. Sabina is prone to saddle sores, so she had an extra pair of bibs. We also both brought a rain jacket. Here is what we wore:

    Robin’s clothes:
    – bib tights
    – 2 base layers (1 on and 1 off the bike)
    – merino boxer shorts
    – thermal underwear
    – 2 pairs of socks (1 on and 1 off the bike)
    – long sleeve cycling jersey
    – rain jacket
    – down jacket
    – 1 pair of gloves
    – merino beanie

    Sabina’s clothes:
    – 2 long bib tights
    – 2 base layers (1 on and 1 off the bike)
    – jogging pants
    – 2 pairs of socks (1 on and 1 off the bike)
    – merino underwear
    – long sleeve cycling jersey
    – rain jacket
    – down jacket
    – pair of gloves

    Bikepacking hike-a-bike pushing
    Bikepacking hike-a-bike bike pushing Sweden

    The clothing easily fits in our saddle bags. We just stuff it into the pack and keep things we might need, like a jacket if it gets cold, accessible at the front. You really need to put some force into the stuffing, otherwise the saddle pack sweeps from side to side when riding off-road.

    What else in a lightweight bikepacking set-up?

    Then there are always a lot of extra little things you need to have with you. For personal hygiene, to document the trip, your other electronics, something to keep you entertained at night. For us that list looked like this:
    – sanitary wipes and toilet paper
    – toothbrush and toothpaste
    – contact lenses
    – phones and charging cables
    – 2 powerbanks
    – earbuds
    – cycling computers
    – camera
    – wallet

    We learned that there is always something we forget, but at the same time manage perfectly fine without. On this trip we forgot to bring sunscreen and painkillers, annoying but not life-threatening. Packing light is also about calculating risks, how far am I from civilization in case I need first aids? What does the weather forecast look like? How much extra weight am I willing to carry to be able to fix my bike?

    After having forgotten so many things on previous trips we learned that we will be fine either way. Everyone has a different packing list, and what lightweight bikepacking set-up works for us might not work for you. But the only way to find out what you don’t really need or maybe forgot, is by going on your own adventures!

    Sabina warming up campfire bikepacking wind shelter Sweden
    Campfire bikepacking warm sleep
    Bikepacking campfire

    Follow all our adventures on Instagram.

  • Our new gravel racer bikes: The 3T Exploro

    Our new gravel racer bikes: The 3T Exploro

    All cyclists know, that nothing beats #newbikeday. You could combine all the wonderful gifts on Christmas and your birthday, and it wouldn’t even come close to the feeling of cycling on a fresh new gravel racer. So you can imagine how thrilled we were when DHL had a very special delivery for us from 3T bikes, all the way from Bergamo, Italy.

    After dragging our heavy loaded steel touring bikes over the roughest roads and toughest single trails, we wanted something completely different. Gravel is the way we roll these days, and we absolutely enjoy picking up some speed. A quick and light ride had been on our wish list for a long time, so we teamed up with 3T to find our new dream bicycle.

    Pioneers

    3T is a brand well known for their bicycle components. The real bike freaks know they produce top of the notch rides too. A short history lesson tells us that Turin Tube Technology (that’s what those 3 T’s actually stand for) originally focused on the manufacturing of steel tubing. The brand really made name for itself in 1981 with the release of the Superleggero drop bar. At that time one of the lightest drop bars available on the market. 

    3T has a track record of being first: first to introduce modern aluminium to cycling, first to produce an aero handlebar and first to design gravel specific wheels. Since 2008, 3T added the production of carbon-fibre composite materials to their production line. Another first-timer was the release of the first aero-carbon-gravel bike: the 3T Exploro.

    3T Exploro gravel racer

    The Exploro was exactly what we were looking for, a quick and lively feeling carbon bike. The design by Gerard Vroomen is extremely lightweight and made for fast off-road exploring. The bike is designed to fit road, gravel and even mountainbike wheels and tires. Sporting 700c wheels, it handles tires up to 40 mm. But if you want to ride really rough terrain, the setup with 650b wheels will accommodate 2.1 inch (52 mm) knobby mountainbike tires. 

    Choices, choices

    The Explore comes in many builds. We both have the same frame, but a completely different bike. Where Sabina (WTB Venture 650b x 2.0”) can ride any terrain with incredible comfort, Robin (Schwalbe G-one 700c x 35) is fast fast fast on hard packed and tarmac. We both really wanted to try SRAM’s Force group set. Sabina even went a bit overboard and opted for Force/Eagle AXS etap.

    Gravel cycling weekenders

    A big bonus is that we now have a way bigger radius for our overnighters and (long) weekenders. The bikes are perfectly capable of carrying a few bikepacking bags, as long as we keep the kit to a minimum. These bikes are definitely not made to go on bikepacking adventures for months in the back country. That’s neither the kind of riding we have in mind. We actually chose the bikes to go out on long day rides and maybe even participate in gravel events.

    Exploro Team Force/Eagle AXS ETAP

    Off-road monster with SRAM Force AXS, Eagle XX1 derailleur & 11-50 cassette

    Handlebar   3T Superergo TEAM Stealth
    Shift/brake levers   Sram Force1 Hydraulic DoubleTap
    Rear derailleur   Eagle XX1 AXS Long Cage
    Brakes   Sram Force1 HRD Hydraulic Disc w/ Sram 160mm Centerlock rotor
    Crankset   Sram Force1 44T
    Cassette   Sram Eagle 11-50T
    Wheelset   Fulcrum Racing 7 650b
    Tires   WTB Venture 650b x 2.0” Tubeless, Tan Sidewall
    Saddle   Fizik Antares R7
    Pedals   Shimano SPD

    Exploro Team Speed Force1

    Pure speed-focused spec for both road and gravel rides

    Handlebar   3T Superergo PRO
    Shift/brake levers   Sram Force1 Hydraulic DoubleTap
    Rear derailleur   Sram Force1 Medium Cage
    Brakes   Sram Force1 HRD Hydraulic Disc w/ Sram 160mm Centerlock rotor
    Crankset   Sram Quarq Prime Carbon Power Ready 40T
    Cassette   Sram 11-speed PowerGlide 11-36T
    Wheelset   Fulcrum Racing 7 700c
    Tires   Schwalbe G-ONE ALLROUND Performance 700x35c
    Saddle   Fizik Antares
    Pedals   Shimano SPD


    Post scriptum

    The attentive reader may have noticed that Robin’s bike is not equipped with 700c wheels, as mentioned in the specifications. Last week a young kid on an electric scooter drove head-on into us. This resulted in a lot of scratches, bruises and a broken front wheel. Luckily the amazing folks at BienVélo will patch them all up, so they are soon all pretty and shiny again.

    Follow all our adventures on Instagram.

  • The broken gear list

    The broken gear list

    If you ain’t got much, you make sure that what you’ve got matters. We put a lot of thought in what items we brought on our bicycle tour and these are the ones that unfortunately didn’t completely survive. Here’s the full list of gear that (we) broke.

    We’ll mention for each item if we believe it was a failure of the product or our own stupid fault. This list could be of help if you are researching what to bring on your bikepacking trip or bicycle tour.

    Broken kitchen gear

    Let’s start with our kitchen. You can see the full list of our kitchen gear here. The majority of our cooking gear is from Sea to Summit. Overall we are very happy with their stuff. It’s lightweight and pretty durable. 

    Sea to Summit Alpha Pan

    So we completely blame Josh and not Sea to Summit for breaking our Sea to Summit Alpha Pan. He forgot to flip out the handle so the plastic grip was right over the fire. It melted and we had to peel it off, but we are still able to use the pan. Good stuff.

    Mokapot and Sea to Summit X-brew

    It seemed as if we were doomed to not drink coffee. The cheap mokapot we bought lasted for one day. To be expected, but still we were quite disappointed when the handlebar broke of because it had melted. The Sea to Summit X-brew wasn’t a great success either. We didn’t find the right coffee, so it tasted more like coffee flavoured tea. Not the best. After a few uses the metal filter also broke when we were cleaning it.

    After a few months of cycling without our own coffee maker (we spent a lot of money in coffee shops) we finally got our hands on the Aero press Go. Of course, we forgot to buy coffee in the city and try buying that in tea sipping rural India.

    Victorinox Swiss army knife

    Sabina also broke Robin’s Victorinox Swiss army knife when she tried cleaning it in boiling water. ‘That will sterilize it’, she thought. Yup, it sterilized the hard plastic casing right off. Again still usable, so she still doesn’t get why Robin got pissed. The knife took payback immediately by the way, it cut her finger while flipping in all the clean blades.

    MSR WhisperLite stove

    Our MSR WhisperLite stove started malfunctioning in the midst of The Pamir Highway. Luckily our friend James had a spare fuel line which seemed to cause the problem. The stove comes with a small maintenance kit. If you’re going on a long tour and are travelling in remote areas like us, we recommend bringing along the MSR Expedition Service Kit.

    Camping gear took a hit

    Just like our cooking gear our camping gear (full list here) is under heavy duty too. We’ve camped in appalling conditions and three items didn’t proof to be bombproof.

    Sea to Summit silk liner

    Both our Sea to Summit silk liners tore at the bottom, but we could easily get that fixed by a seamstress. We categorize this under normal wear and tear.

    Sea to Summit air seats

    We used to carry two Sea to Summit air seats, but one got punctured by a small stick on the ground. We fixed it with the repair kit which worked like a charm. Now we don’t carry them with us any more, simply because we didn’t use them that often. Who needs seats when there are rocks.

    MSR Hubba Hubba NX 2

    MSR is well known for their excellent warranty service. We’ve heard many stories about tent poles snapping, bugs eating their way into the tent through the bottom and even a tent being ripped apart by monkeys on a Thai beach. Luckily we’ve only got small holes in our MSR Hubba Hubba NX 2. These are easily repaired with the repair patches. It really helps to use the MSR Footprint. It’s an extra barrier between your precious tent and sharp debris, gnarly twigs and taunting thorns.

    Popped panniers

    Midway the Pamir Highway Sabina’s Vaude panniers ‘popped’ open on the seam. The glue came undone, so we had to tape the bags shut with duct tape. Luckily this temporary fix lasted all the way to Almaty where she could swap here panniers for brand-new bikepacking bags.

    Wardrobe falling apart

    There’s probably nothing under as much stress as our attire. We are outside almost 24/7 and our clothes are what protect us from the sometimes brutal elements. We are impressed by the durability of our cycling apparel. It’s what we wore pretty much all the time.

    Take a peek into our panniers and see our full wardrobe here.

    Fjällräven Karl Pro trekking pants

    We bought the Fjällräven Karl Pro zip-off trekking pants because they promised us a durable material. It only took about two or three months for the fabric to rip and a lot of the seams to break. We barely used them while cycling, so that couldn’t be the cause. We washed the pants max once every three weeks and regularly applied new wax. Unfortunately Fjällräven doesn’t have a good warranty policy. They simply dismissed this as caused by extreme use and don’t take any responsibility. Guess we’re not buying these again.

    Quoc Gran Tourer Shoes

    A company that does have a great warranty on the other side is Quoc. The Gran Tourer is perfect for gravel ride but didn’t survive hike-a-biking up Tajik mountain passes. The entire sole came off and Robin had to ride with a duct taped shoe for the rest of the Pamir Highway. Quoc was really cool about it and send him a new pair. These are now being saved for future gravel rides and he now uses the Shimano XM7 for the rough stuff.

    Icebreaker shirts

    We wear wool every day, merino wool to be exact. And we almost never have to wash it. Icebreaker sent us some clothing before our trip, and we absolutely love it. It’s anti-bacterial, breathable, light weight and itch-free. Merino wool isn’t known to be very durable. The fibres are extremely thin, so we expected the items to wear down after such heavy use. So we are very impressed that we’ve only got a few small holes in our shirts. These were easy to fix with a needle and thread and a YouTube video explaining how to darn.

    Icebreaker Quantum gloves

    Sabina’s Icebreaker Quantum gloves didn’t work out that well for cycling. The fabric tore on all the seams, and we tried having it fixed, but they were broken beyond repair. When we head back to the cold again we are definitely investing in some cycling specific gloves. Any tips?

    Robin’s biggest nightmare: a broken Fujifilm X100F

    On a trip like ours there are two things that we absolutely cannot live without. First there are the bicycles. Can’t ride without them. The second is the camera’s. Capturing it all is our passion and there’s nothing we love more than sharing our adventures. Our beloved Fujifilm X100F gave up on us in Nepal. 

    It hadn’t been working as it should for some time. But now we couldn’t get a sharp picture at all. Also, the optical and electronic viewfinder can be alternated, but it got stuck somewhere in between. It’s pretty useless now and our expensive travel insurance isn’t covering it.

    We have a warranty from the store where we bought it, but then we would have to physically return it, and we are nowhere near the store. Fujifilm also gives a one-year international warranty but Fujifilm Indonesia (where we are now) cannot repair the camera. Luckily we still have the Fujifilm XT3 to keep shooting.

    How about the bikes?

    If there’s anything that has been under a lot of stress (if you don’t count our bodies) it’s the bicycles. Our Avaghons have proven to be sturdy companions. Besides a lot of battle scars there aren’t any serious damages. We have never even had a flat.

    When Sabina’s bike fell of a bus in Nepal the rear wheel had to be replaced, but the frame was still intact. There’s just a small dent in the top tube left. You can read more about our bikes here.

    Be ready to repair it

    It is inevitable that stuff will break when it is used under such challenging circumstances. You don’t go out cycling without a tube repair kit, so why not have a repair kit for other items as well. These items have helped us repair everything on the go.

    Tent repair patch
    Repair kit for air mattress
    Sewing kit for repairing clothes
    Tube and tire repair kit
    High quality tape
    High quality zip ties
    Superglue
    Multitool

    Follow all our adventures on Instagram.

  • A look at our camping gear

    A look at our camping gear

    In this round of ‘A look at our gear’ we’ll guide you through our camping gear. After showing you around in our kitchen and wardrobe it is now time for the living room and bedroom. 

    Sheltering and bedding form an importants basis of the complete gear list. The right equipment to shelter from heavy, nightly rain showers and being tucked away warm in a sleeping can enhance the fun of your backcountry adventure. Here’s a look at our complete camping gear.


    The tent: MSR Hubba Hubba NX-2

    Like almost every other cyclist we’ve met on the road, we use a MSR tent. The MSR Hubba Hubba NX-2 to be precise. You can’t really go wrong with it, it’s robust, easy to set up and lightweight. The packaged weight is roughly 1.6 kg and the packaged size is 46 x 15 cm.

    You can choose between the colors white and green. We opted for the last one because it offers better stealth camping abilities. The floor dimensions sizing is reasonable for two people. You can’t take all your bags and stuff inside the tent. And bear in mind that the actual sizing is smaller when you’re not using the tent pegs to stretch the lower part of the tent.

    We use the MSR footprint to keep the tent clean and better protected from wear-and-tear. The footprint doubles as a picnic rug on our lunch breaks.

    Tent     MSR Hubba Hubba NX2
    Footprint     MSR Universal Footprint

    Camping lights

    Sometimes you need to conquer the darkness in the depth of night. Usually for a nighttime wee. This is when the head torches comes in handy. 

    If we want to create a cosy setting in or next to our tent we can link the Biolite lighting to a power bank. The string lights generate more than enough light for cooking or to read a book. In our previous blog ‘A look at our gadgets’ you can see all the electronics we use. 

    Head torch   Black Diamond Storm
    Lighting   Biolite Sitelight Mini

    Lightweight warm sleeping system

    A good night sleep is important after a long day in the saddle. That’s why we opted for a slightly thicker and heavier mat, the Sea to Summit Comfort Plus Insulated Air Sprung Cell. It’s certainly not the lightest one (845 grams) but it’s super comfortable and durable. The mat is perfect for usage on rocky surfaces and side sleepers. The newer models also include the Airstream Pump that is integrated into the stuff sack. The pump sack makes inflation an easy task, even when on high altitudes.

    The Pillow Lock System that comes with the mat is basically a couple of velcro straps that you stick on the mat so that the pillow doesn’t slip off. You could also easily solve the slipping issue by putting the pillow inside your sleeping bag or liner.

    We both use the Sea to Summit Aeros Down Pillow. I don’t really have an explanation why we chose a down pillow. But it’s fairly light and the packed dimension is small. To give you an idea, the size is similar to two ping pong balls stacked on top of each other.

    A sleeping bag for all temperatures

    Choosing the right sleeping bag for our adventure was a difficult task, since we were planning to visit locations with very different climates and temperatures. From the Uzbek desert to Himalayan mountain passes. We were advised picking a sleeping bag based on the coldest possible location. The sleeping bags are the only items from our camping gear that’s different from each other. Robin is using the Spark III while Sabina has the Flame IV. They’re both down, mummy sleeping bags. Down offers better warmth as long as it’s dry and down sleeping bags are much easier to compress. Make sure you decompress down every now and then.

    We both carry two liners. The Sik Liner is used to keep the sleeping bags clean while sweating during night time. The fleece Reactor Liner is used for some extra warmth when it’s really cold. The extra liners also gives us the opportunity to vary when it get’s really cold or warm. In warm places like India we just use a liner without the sleeping bag.

    Sleeping mat Sea to Summit Comfort Plus Insulated Regular
    Sleeping bag [Robin] Sea to Summit Spark III
    Sleeping bag [Sabina] Sea to Summit Flame III
    Pillow Sea to Summit Aeros Pillow Down Regular
    Liner I Sea to Summit Thermolite Reactor Extreme
    Liner II Sea to Summit 100% Premium Silk 

    Repairs on the go

    Last but not least, the repair kit for our camping gear. A tear can easily occur if you’re camping between bushes. Self-adhesive patches are a great way to instantly repair holes and tears. We’re carrying repair stickers for the sleeping mat too, as well as a couple of replacement silicon valve flaps.

    Tent repair kit   MSR Fabric repair kit 
    Sleeping mat repair kit   Exped Permanent Home repair kit
    Sleeping mat repair kit [valve]   Sea to Summit spare valve flaps

    What do you think?

    Let us know in the comments if there’s anything you’d like to know and what you think of our gear!


    Follow all our adventures on Instagram.

  • Bikepacking videos – Part II

    Bikepacking videos – Part II

    Still stuck in lockdown? And already watched all films on our first collection of bikepacking videos? Then you’re in for a treat.

    At popular request here’s Awesome bikepacking video’s Part II!

    Bikepacking the Mongolian Steppe

    By Jay Bird Films

    There’s something special about the Jay Bird films. The vibe and pace are just awesome. It’s all about exploring and having a nice time on and off the bikes. They don’t only make great films, they make bikepacking bags too! We’d love to get our hands on these Bags by Bird.

    Because we’re a big fanboy and -girl; here’s the extended (39 minute!) version of Bikepacking the Mongolian Steppe.

    Huayhuash

    By Joey Schusler

    The Peruvian Cordillera Huayhuash is one of the most remote mountain ranges in the world. It’s rainy season and the circumstances at this altitude are unforgiving. “It’s like pushing a wheelbarrow up a staircase, while breathing through a drinking straw”. Disaster strikes with a bad crash and they run into some shooting Morochucos. This adventure is truly beyond.

    Melons, trucks, angry dogs

    By ERTZUI FILM

    Recep Yeşil and Erik Nohlin take us along the mighty Transcontinental Race in four episodes. Halfway through the race the riders’ perspective changes. There’s no room for rushing any more, they just want to cruise across Europe. It turns into a wild and inspirational journey in so many unexpected ways. Thanks for the tip Ana!

    I Just Want To Ride – Lael Wilcox and the 2019 Tour Divide

    By Rugile Kaladyte

    There’s no question about it. Lael Wilcox is the world’s best ultra-endurance bicycle racer. Did you know that in a race she doesn’t even filter her water to save time? Even when there’s cow shit or horse shit nearby. “I’ve done it before and been fine. I do it for every race. Filtering water is just too time consuming. It’s a risk, but there are a lot of risks we’re taking out here. It’s just one of them.”

    But it isn’t just about beating a record or finishing first. The equally talented Rugile Kaladyte beautifully captures how Lael just wants to ride.


    Our First Time Bikepacking

    By Mahalo My Dude

    If you don’t know the awesome video’s of Mahalo My Dude yet, get in for hours and hours of YouTube. This is their hilarious first take on bikepacking. They headed to the beautiful Sunshine Coast of British Columbia for four days and 95km filled with bikes, beers and some pretty sick trails.

    Admissions of an Amateur Bikepacker

    By Johnson Studios

    How hard could it be?? Ben Johnson thought when he came up with the idea of bikepacking and self-filming a solo adventure in the Andes of Peru. He had zero bikepacking experience.

    We can totally relate, because this is exactly what we thought when we started our bike tour on one of the most difficult bikepacking routes out there. With a full touring set-up that is. Like us Ben found out how hard it can be. But also just how beautiful and rewarding.

    Follow all our adventures on Instagram.

  • A look at our tool kit

    A look at our tool kit

    Everyone who has ever ridden a bicycle, knows that at some point mechanical issues are bound to happen. Disaster usually strikes at the moments you least expect it. I remember well, as a little kid cycling to school and walking back because of a puncture. Luckily my father was always there to help me out. But when you’re cycling in absolute remoteness there’s no-one to fix it for you but yourself.

    A well-thought tool kit can be a true lifesaver. Figuring out what the necessary tools are can be a difficult task. So here’s a detailed overview of the tools that will help solve most of your issues on the fly during your around the world cycling trip or bikepacking adventure in the back country. 

    The essentials in our toolkit

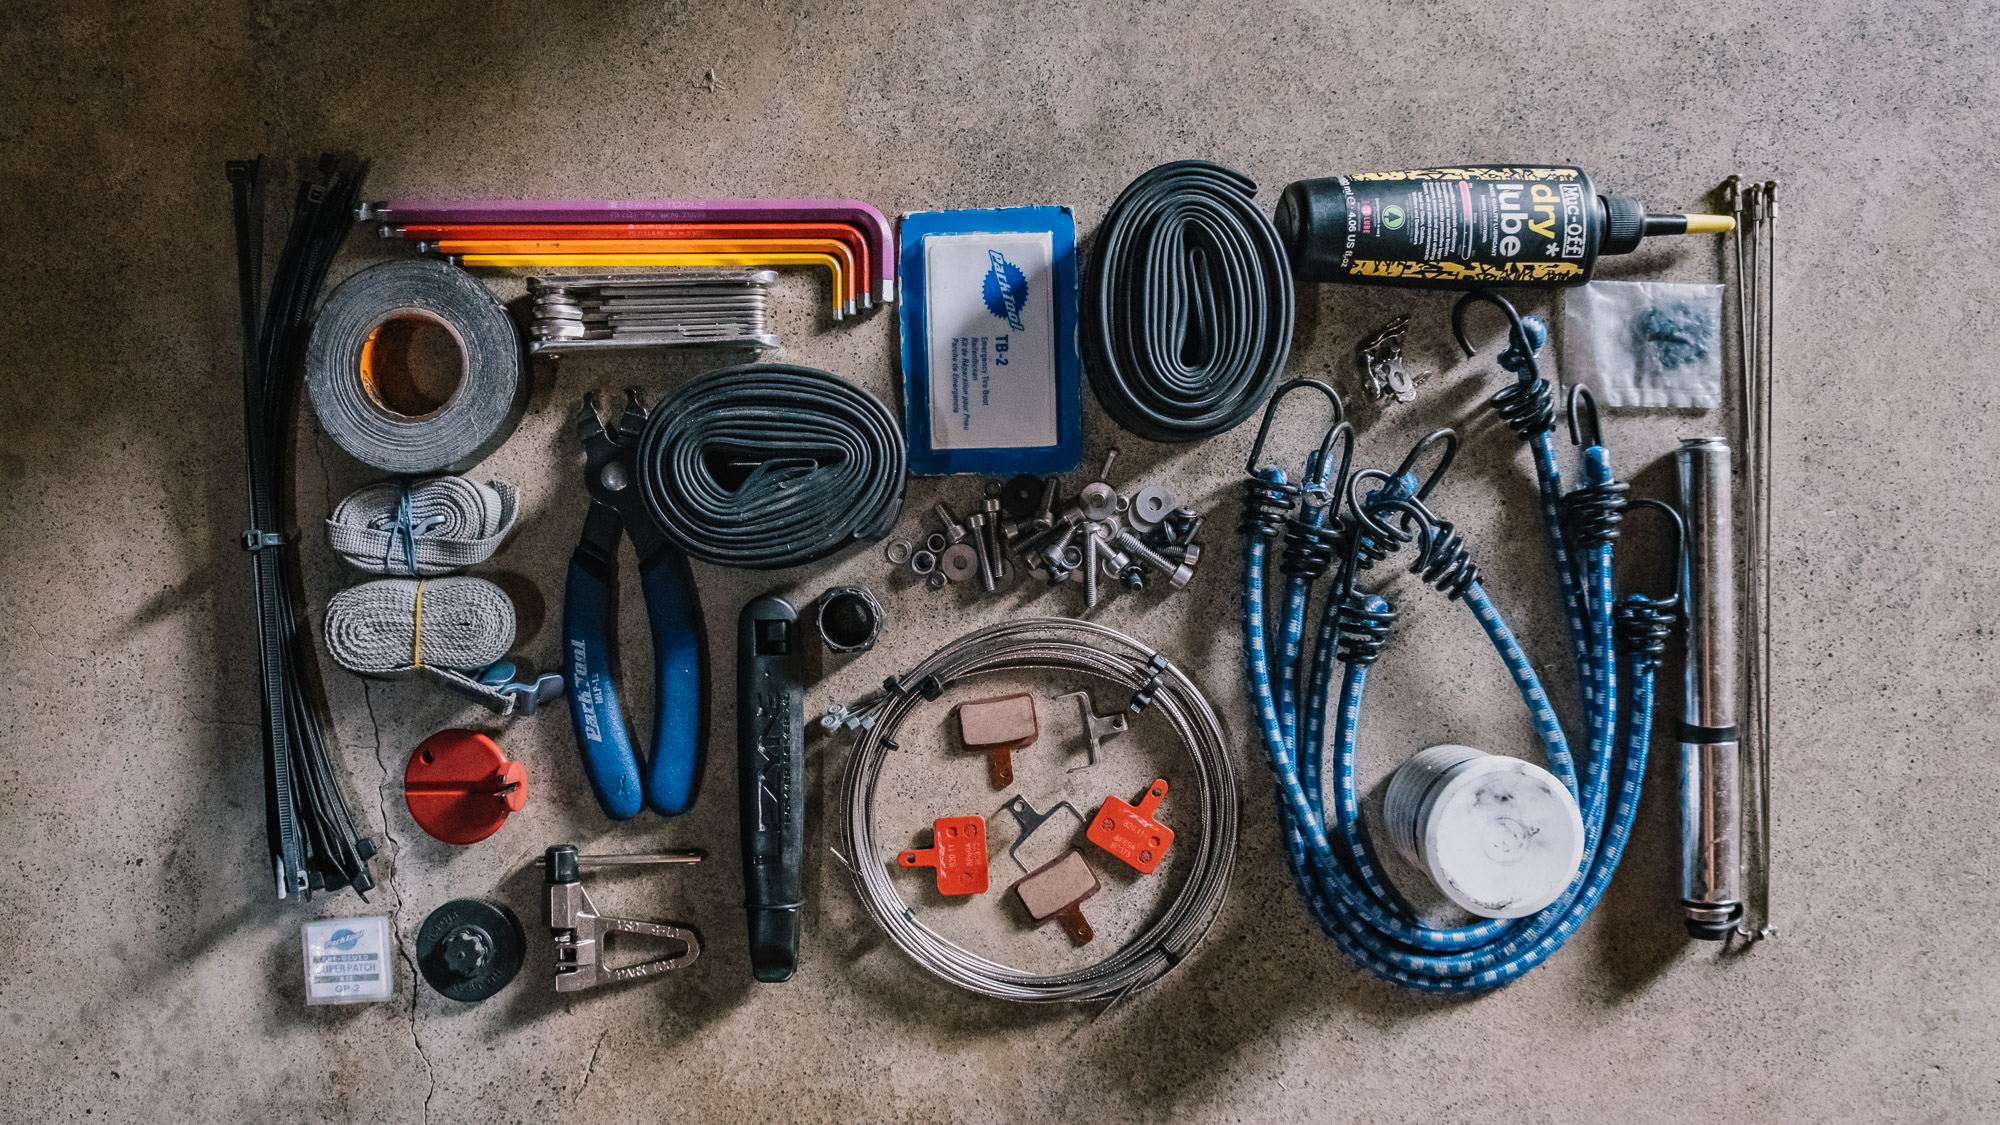
    The heart of anyone’s tool kit should be a multi tool. A slipping seat post or loose bolts caused by bumpy trails can easily be fixed. I’m also carrying good quality Allen keys which are useable when working at an angle. Nifty when I need to tighten bolts that are hard to reach with the multi tool.

    A spoke wrench is a tool that stays inside your tool kit most of the time, but it’s essential to true a wheel. With the Hollowtech II tool you can’t remove the bottom bracket bearings, but at least you’re allowed to clean them once a while. Like the spoke wrench it weighs close to nothing. The cassette locking tool won’t let you do the whole job; taking the cassette off. But as experienced in Tajikistan, there’s always a motor repair shop somewhere with a wrench and an iron pipe to wrap your chain around to do the rest. We can use the tool too for our centerlock disc rotors.

    Most of the issues we’ve had, had something to do with the drivetrain. So the connector tool and chain breaker are extremely handy. We maintain our chains with a regular clean and always apply chain lube. Want to make sure you will get that screw or bolt undone if you need to? Anti seize lube is the answer.

    Multi tool Lezyne
    Allen keys Swiss Tools
    Spoke wrench Cyclus
    Hollowtech II tool Shimano
    Cassette lockring tool Park Tool FR-5.2G
    Missing link connector Park Tool MLP 1.2
    Chain breaker Park Tool CT-5
    Chain lubricant Muc-Off
    Anti seize lubricant Cyclus

    Pumped up tires

    A good quality pump is essential in every tool kit. Together with tire levers and patches they make the golden tire repair triangle. Personally I like the oversized tire levers because they make the job much easier. We carry the pre-glued self-adhesive tube patches for the inner tubes and the tire boots to repair a cut or worn tire sidewall. Two spare inner tubes complete the tire repair part of the tool kit.

    You can count us lucky, because on the whole trip we’ve had exactly zero punctures.

    Pump Lezyne
    Tire levers Lezyne
    Patch kit Park Tool GP-2
    Tire boots Park Tool TB-2
    Inner tubes Schwalbe


    What spare parts to carry

    If you’re on a longer bicycle trip, it’s advisable to bring some spare parts. Every bicycle has its own unique parts and bolts, but in general you need the items mentioned in the table.

    A snapping gear cable and a few mountain passes ahead of you can put you in a bit of a pickle. Spare cables can be stashed inside your handlebar. (Thanks for the tip Sam [http://adventuresbycycle.com]!)

    Especially if you’re riding with disc brakes it’s wise to bring an extra set of brake pads. There are hundreds of different kinds on the market, so chances of you finding the exact ones you need in Uzbekistan are pretty slim.

    Missing links are a must to fix a snapped chain. We’re also carrying extra spokes and nipples. Keep in mind that the spoke length of your front and rear wheel (drivetrain side and non-drivetrain side) can vary. Might be useful to label them, so you know which one is which. So far we haven’t had to use the spare spokes. Only a whole new rear wheel but that’s a different story. Bolts and nuts can be helpful to replace lost ones. 

    Brake cables Shimano
    Gear cables Shimano
    Brake pads TRP 
    Missinglinks KMC
    Spokes & nipples Sapim
    Bolts & nuts Standard

    Extra in the toolkit

    It’s always a good idea to bring a few items like zip ties and tape to fix stuff that tools can’t. Zip ties are useful in many situations. Please buy quality zip ties. We bought cheap ones somewhere in Central Asia, but they kept on snapping.

    Gorilla tape is probably the best tape out there for repairing holes in bikepacking bags or fixing tires if you don’t bring tire boots. Our bungee cords and straps are mostly used for strapping the bicycles on the roof of a bus or a taxi.

    Zip ties Standard
    Tape Gorilla Tape
    Straps Sea To Summit
    Bungee cords Standard


    Additional note

    I’m aware that our tool kit isn’t the lightest one, but it’s pretty bombproof. Besides, it gives me a comfortable feeling of being able to fix most mechanicals myself. Every situation and each bicycle is different, so you might need to add some items for your own tool kit. And my final two additions to be ready for anything on a longer journey; if you’re riding with clipless pedals, bring a spare cleat and bolt (super rare). And bring a derailleur hanger just in case.

    If there’s anything you would add, change or remove from our tool kit, leave a comment. We’re always looking to improve!

    Follow all our adventures on Instagram.

  • A look at our gadgets

    A look at our gadgets

    The heaviest bag we drag around on our bicycles is probably the bag with electronics. In this overview we’ll show them all and share why we chose these. 

    Electronics are essential for our journey. We love to take and edit photos, write and share stories, listen to music whilst cycling long stretches and of course navigate our way towards Japan. For all of these activities these are the accessories we use and love.

    Photos and videos

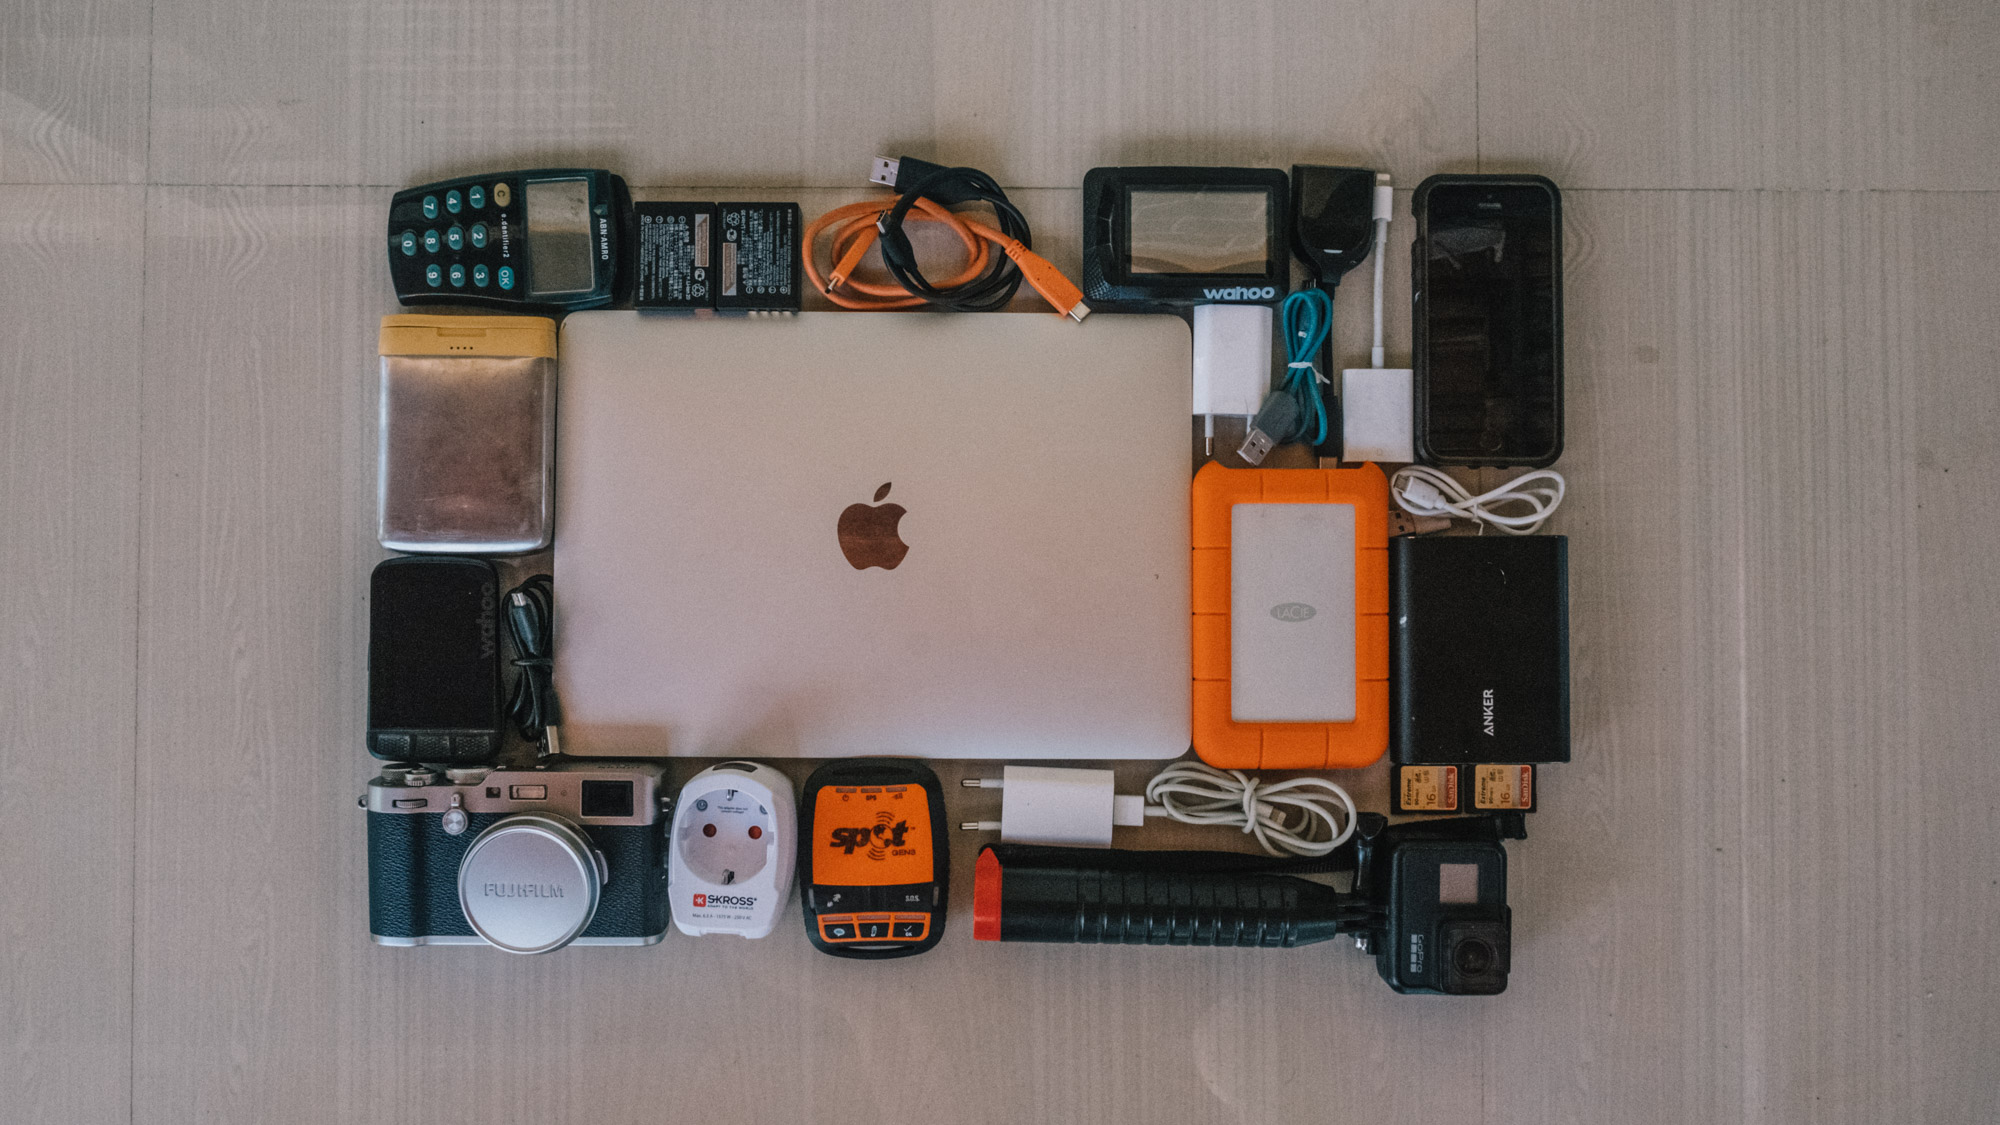
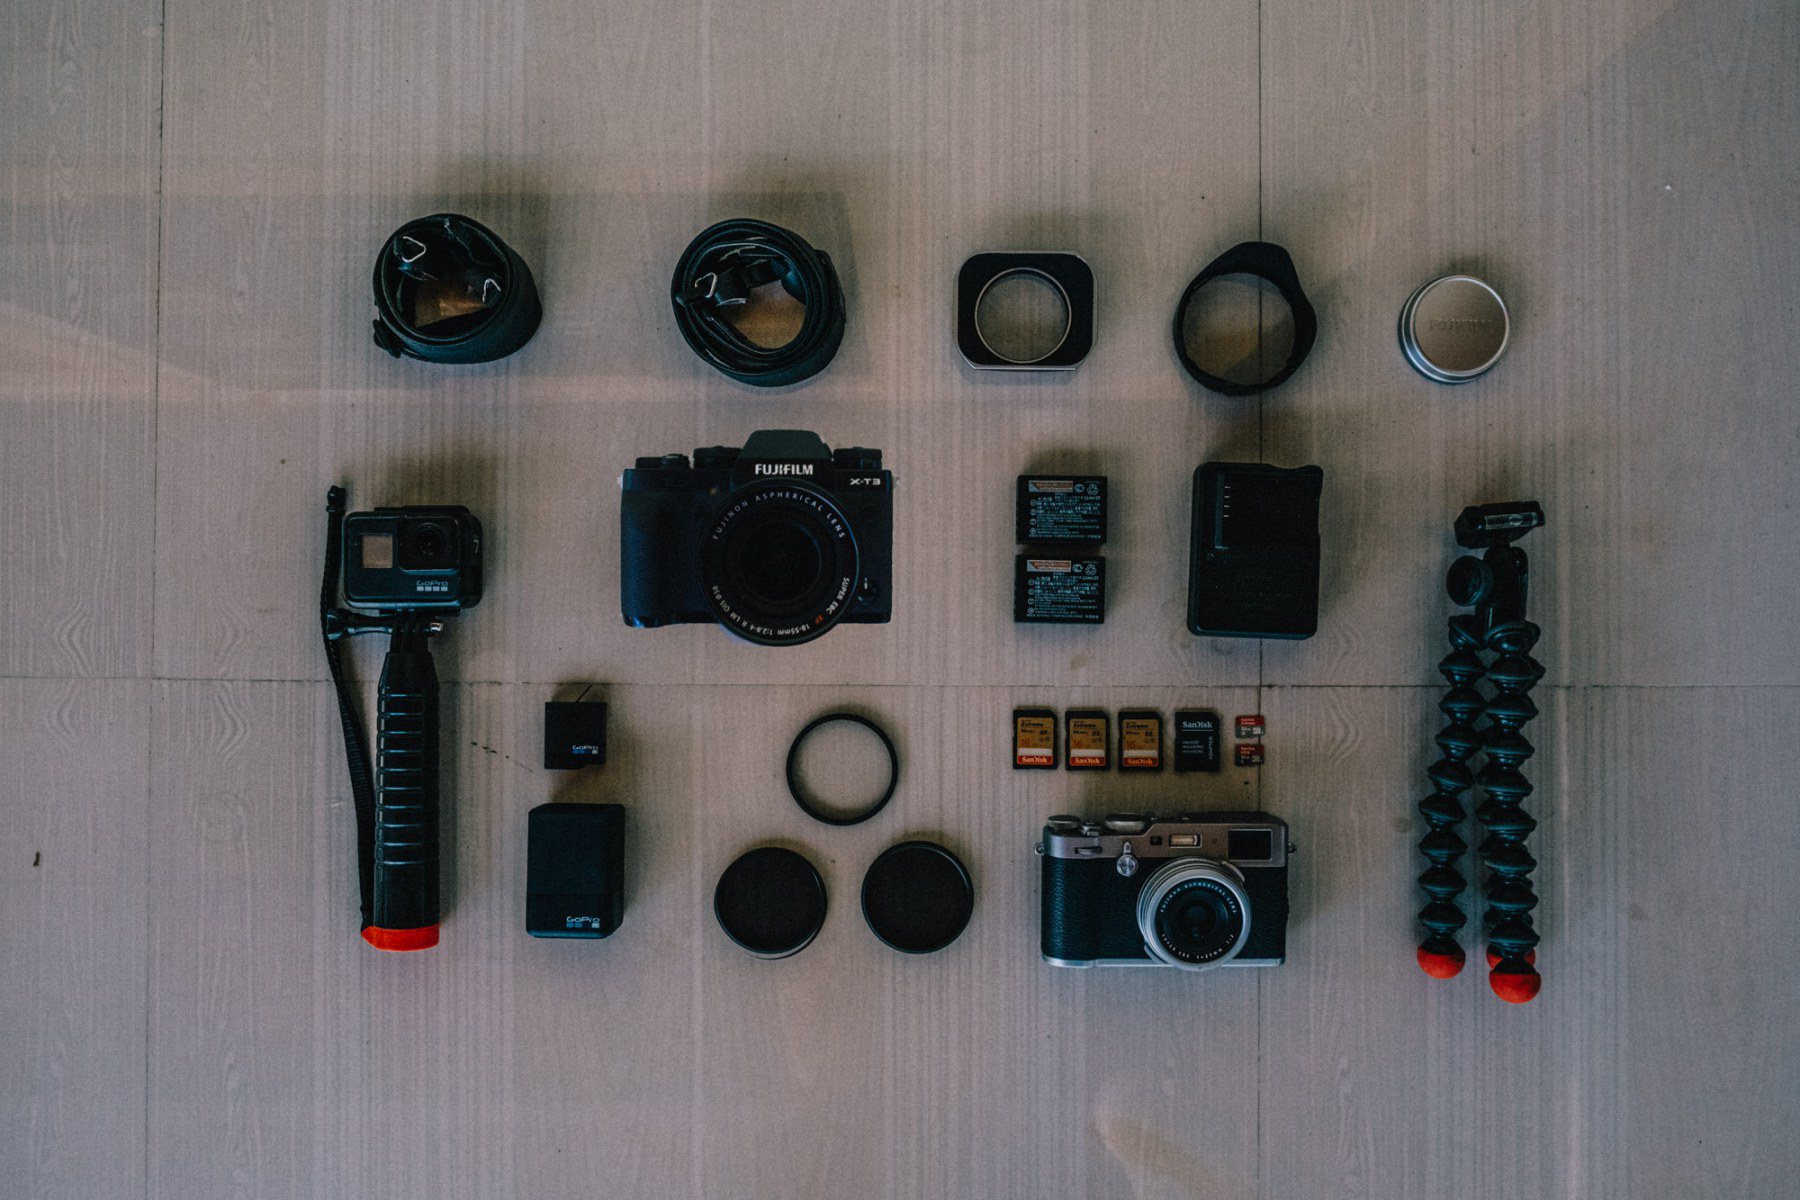
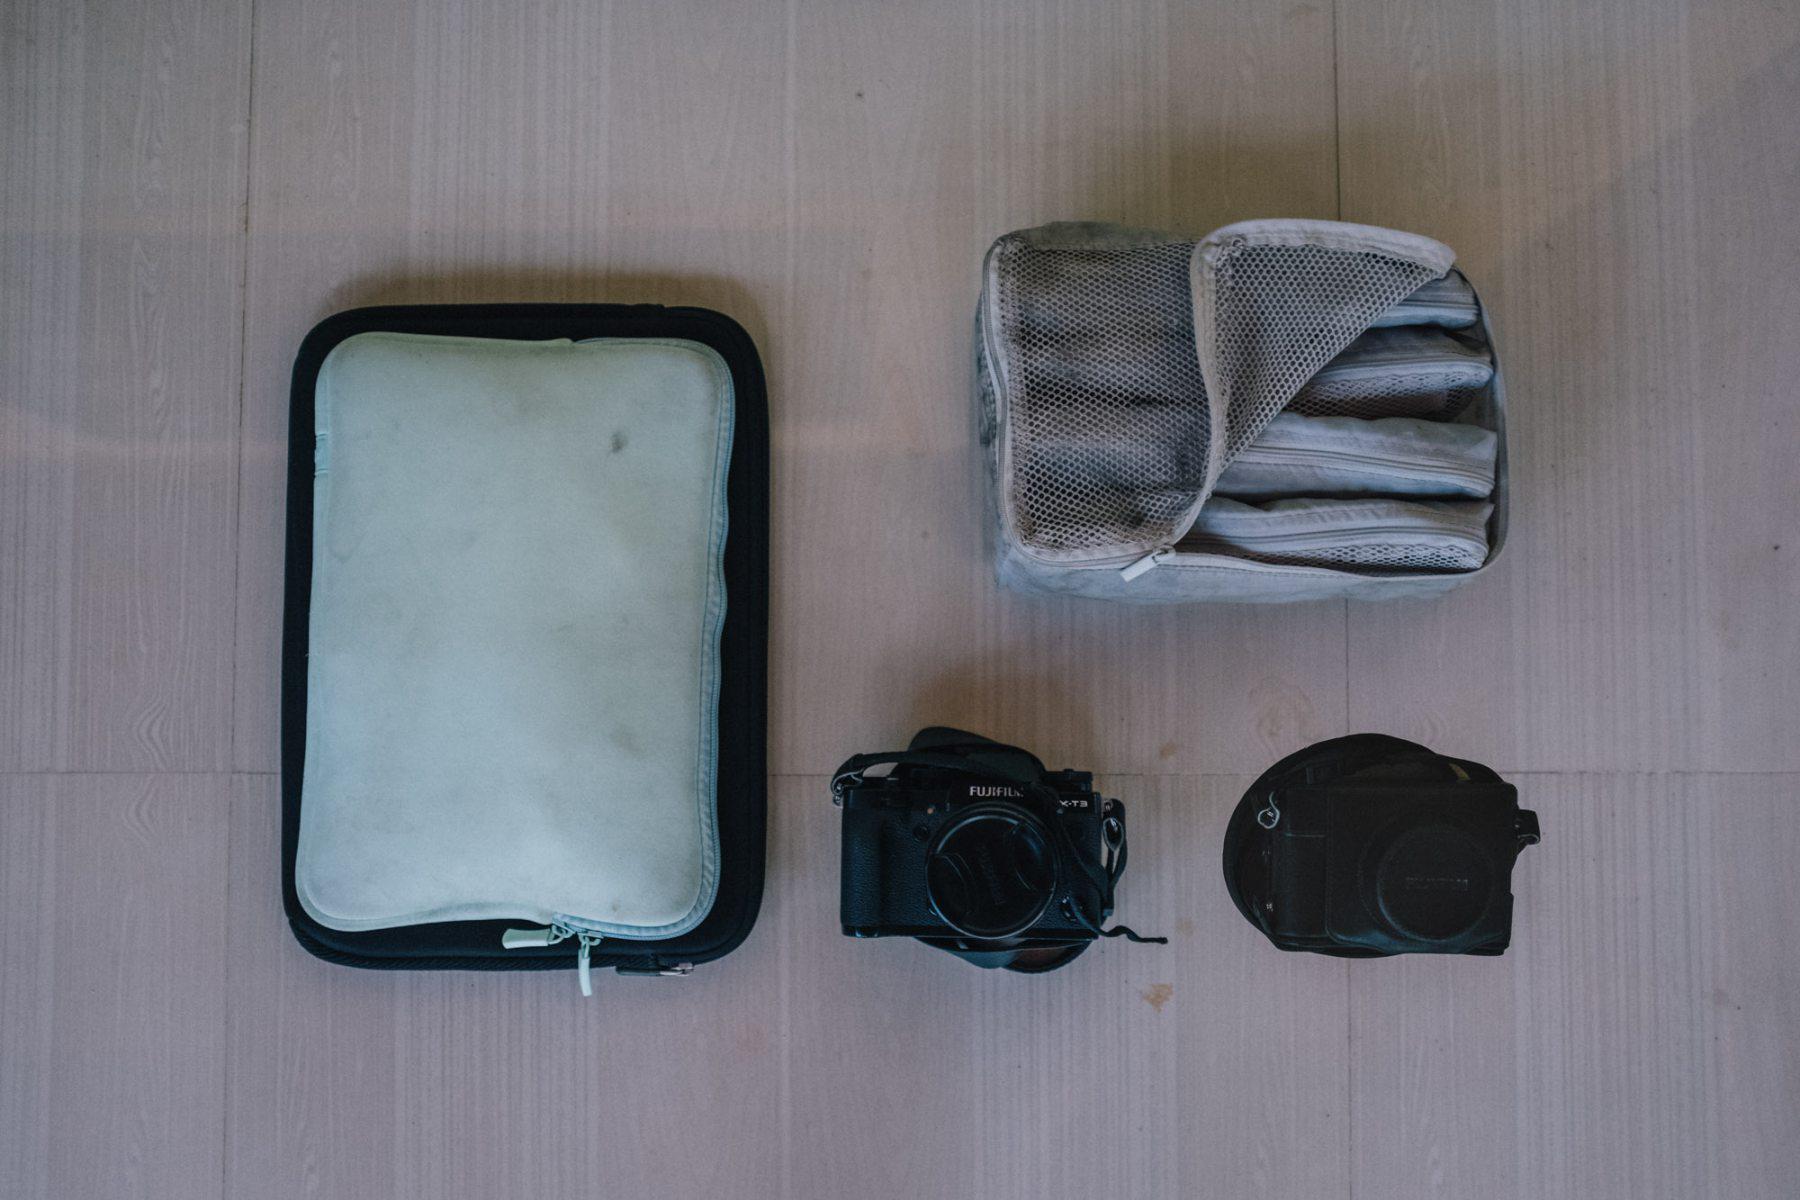
    So maybe we carry a lot of camera’s with us. But for us it’s worth the extra weight. Photography is one of our true passions. The Fujifilm XT3 with a Fujifilm XF 18-55 mm F/2.8-4 R LM OIS zoom lens works as our all round camera for all sorts of photos. It is also our preferred choice for recording short videos, time lapses series and astrophotography. The lens doesn’t have a lot of zoom, but we prefer getting up close to subjects.

    Speaking of getting up close, the Fujifilm X100F is a camera with a fixed lens with a focal length of 35 mm (APSC size sensor). The lens is pin sharp and the camera is light and small enough to take photos incognito. Perfect for street- and portrait photography. We’re full-on Fujifilm fans, mainly because of the design, the placements of the buttons and the amazing color profiles (Classic Chrome).

    We also brought a GoPro action camera, but to be honest, we haven’t used it that much. There is a helmet mount coming our way, so hopefully we’ll start making more ‘on-board’ footage from the bicycles soon. 

    Camera Fujifilm XT3
    Lens Fujifilm XF 18-55 mm F/2.8-4
    Camera Fujifilm X100F
    Accessories Lens hood & filters
    Batteries Fujifilm [4x]
    Memory cards Sandisk [6x]
    Tripod Gorillapod
    Action cam GoPro Hero7 Black
    Batteries GoPro [2x]
    Memory cards Sandisk & Samsung


    Writing and editing

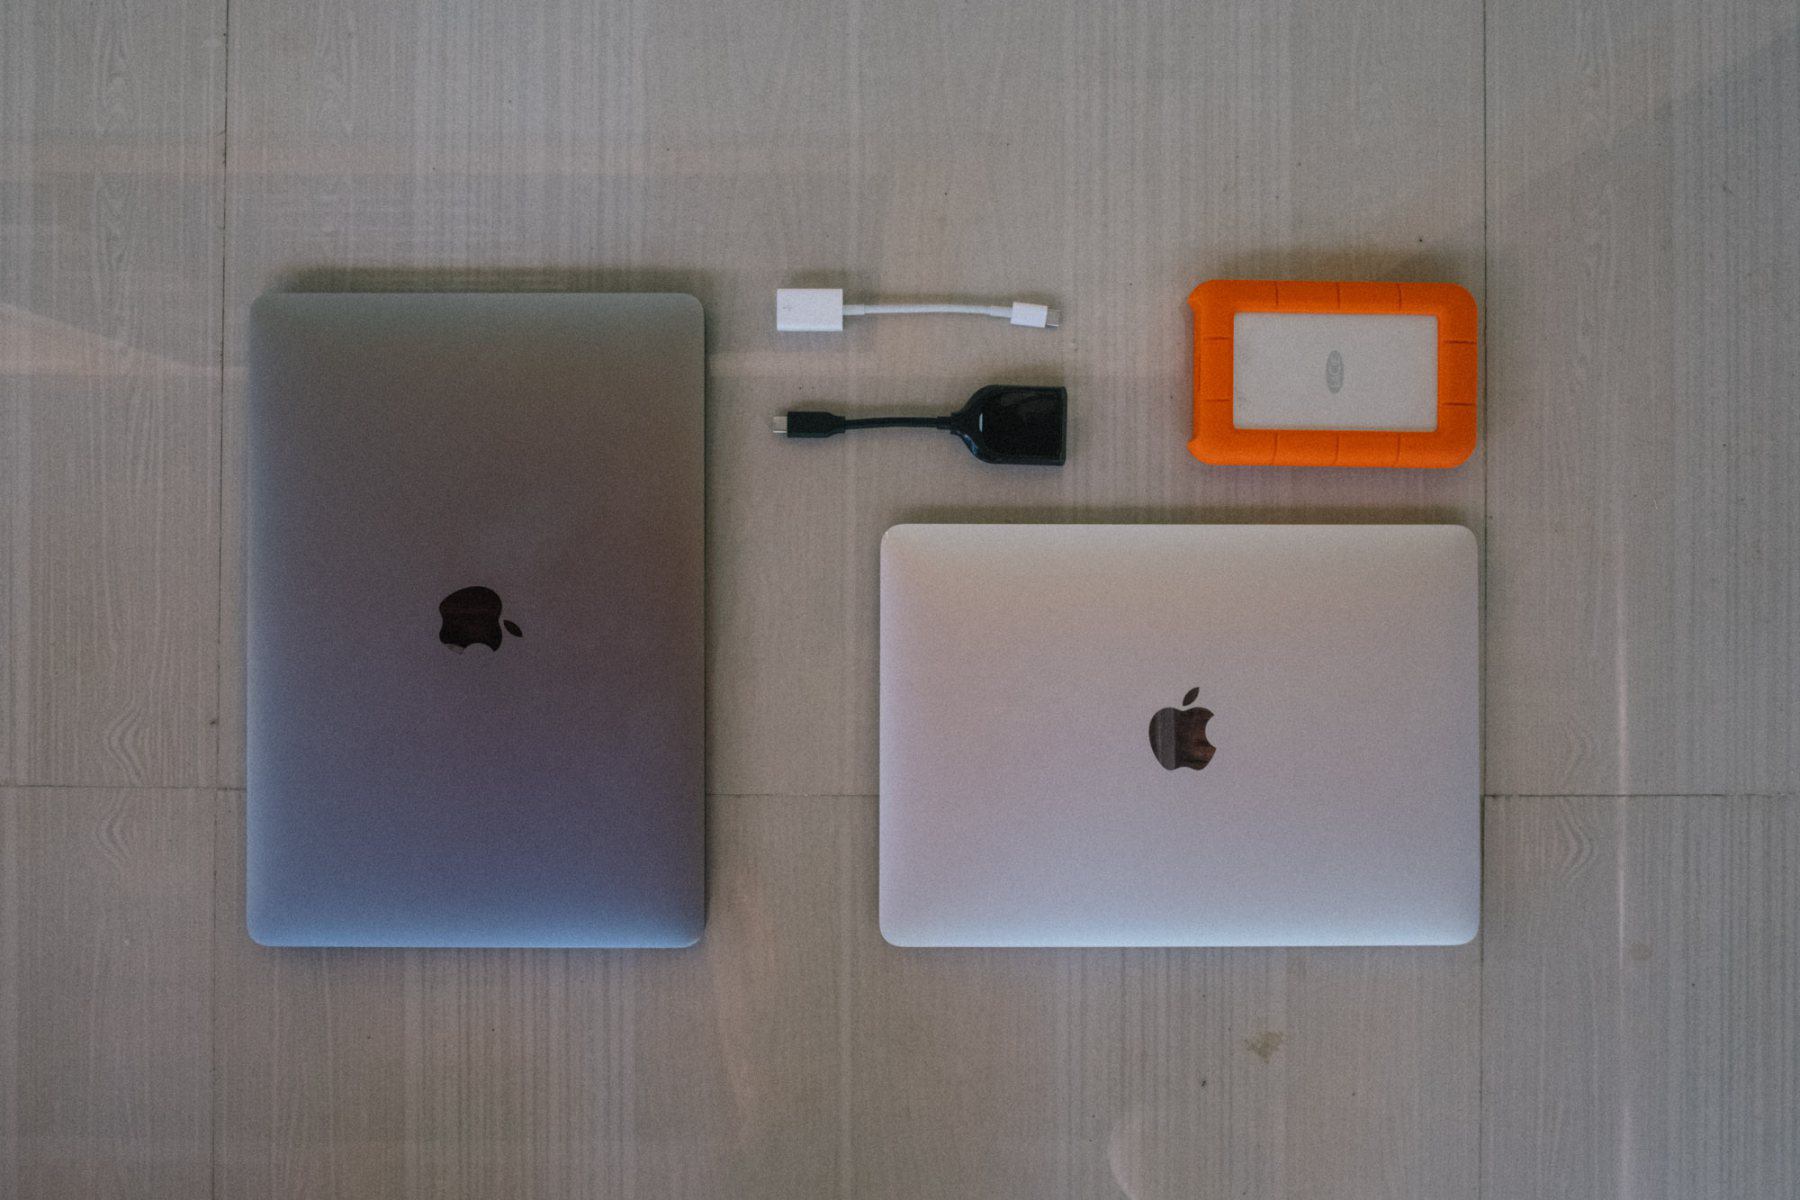
    We decided to both bring our MacBook. We don’t regret it, since we put a lot of effort and time into our website and social media channels. Robin’s MacBook Pro 13-inch is insanely heavy in comparison to Sabina’s MacBook. But we need it to run photography and video editing software. Having both laptops ensures that we can work simultaneously. Essentials like adapters, card readers and a world plug make our workflow quick and efficient.

    To store and back up all footage we use a LaCie Rugged Mini 1 TB harddisk. The LaCie feels sturdy and is water, dust, and crush resistant. It definitely survived some crushing and dust, but we haven’t put it to the water-test yet and are definitely not planning to either.

    MacBook MacBook Pro 13 inch & Macbook 12 inch
    Card reader Sandisk
    USB-C adaptor Apple
    Hard disk LaCie Rugged Mini USB-C 1TB

    Charging it all

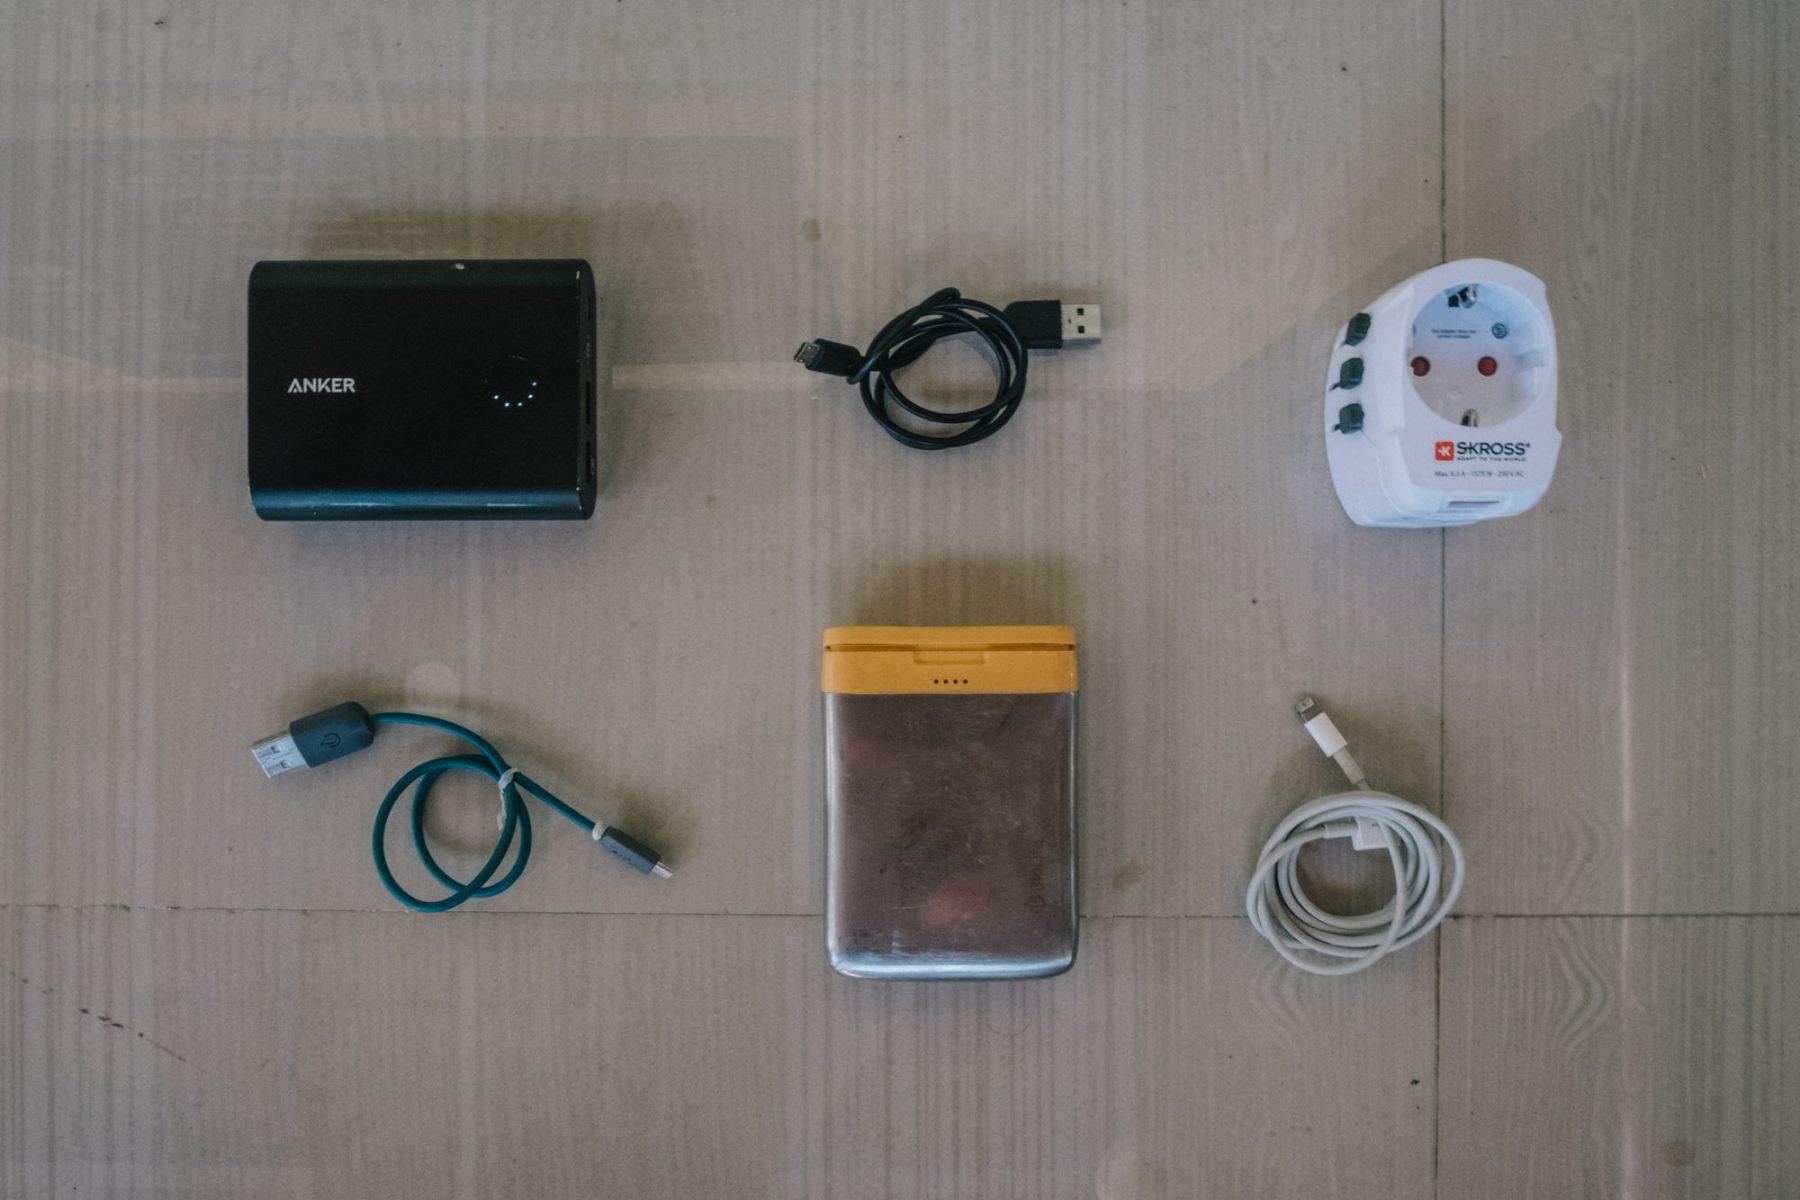
    We also have to keep all our devices charged of course, which is done with the help of two power banks. One of them, the Anker PowerCore+ 13400, was a gift from ‘Kiwi’ Sam in Khorog, Tajikistan. The other power bank is from BioLite, an inspiring company that for every purchase brings safe energy to households across sub-saharan Africa. They have an entire division dedicated to designing solutions to alleviate global energy poverty. Our BioLite Charge 40 keeps us powered wherever we go. It’s weather resistant and made of stainless steel, so sturdy enough to bounce around in our panniers.

    With our Skross World Travel Adapter MUV USB we can charge a power bank and two more devices at the same time. The extra USB slots are perfect, since almost all our devices can be charged by USB. We usually have to charge a lot at the same time, and often ho(s)tels only provide one plug. Two if you’re lucky. This solves that problem instantly.

    Powerbanks BioLite Charge 40 & Anker PowerCore+ Quick Charge 3.0 Qualcomm
    World plug S-Kross Pro Light USB

    Phones and banking

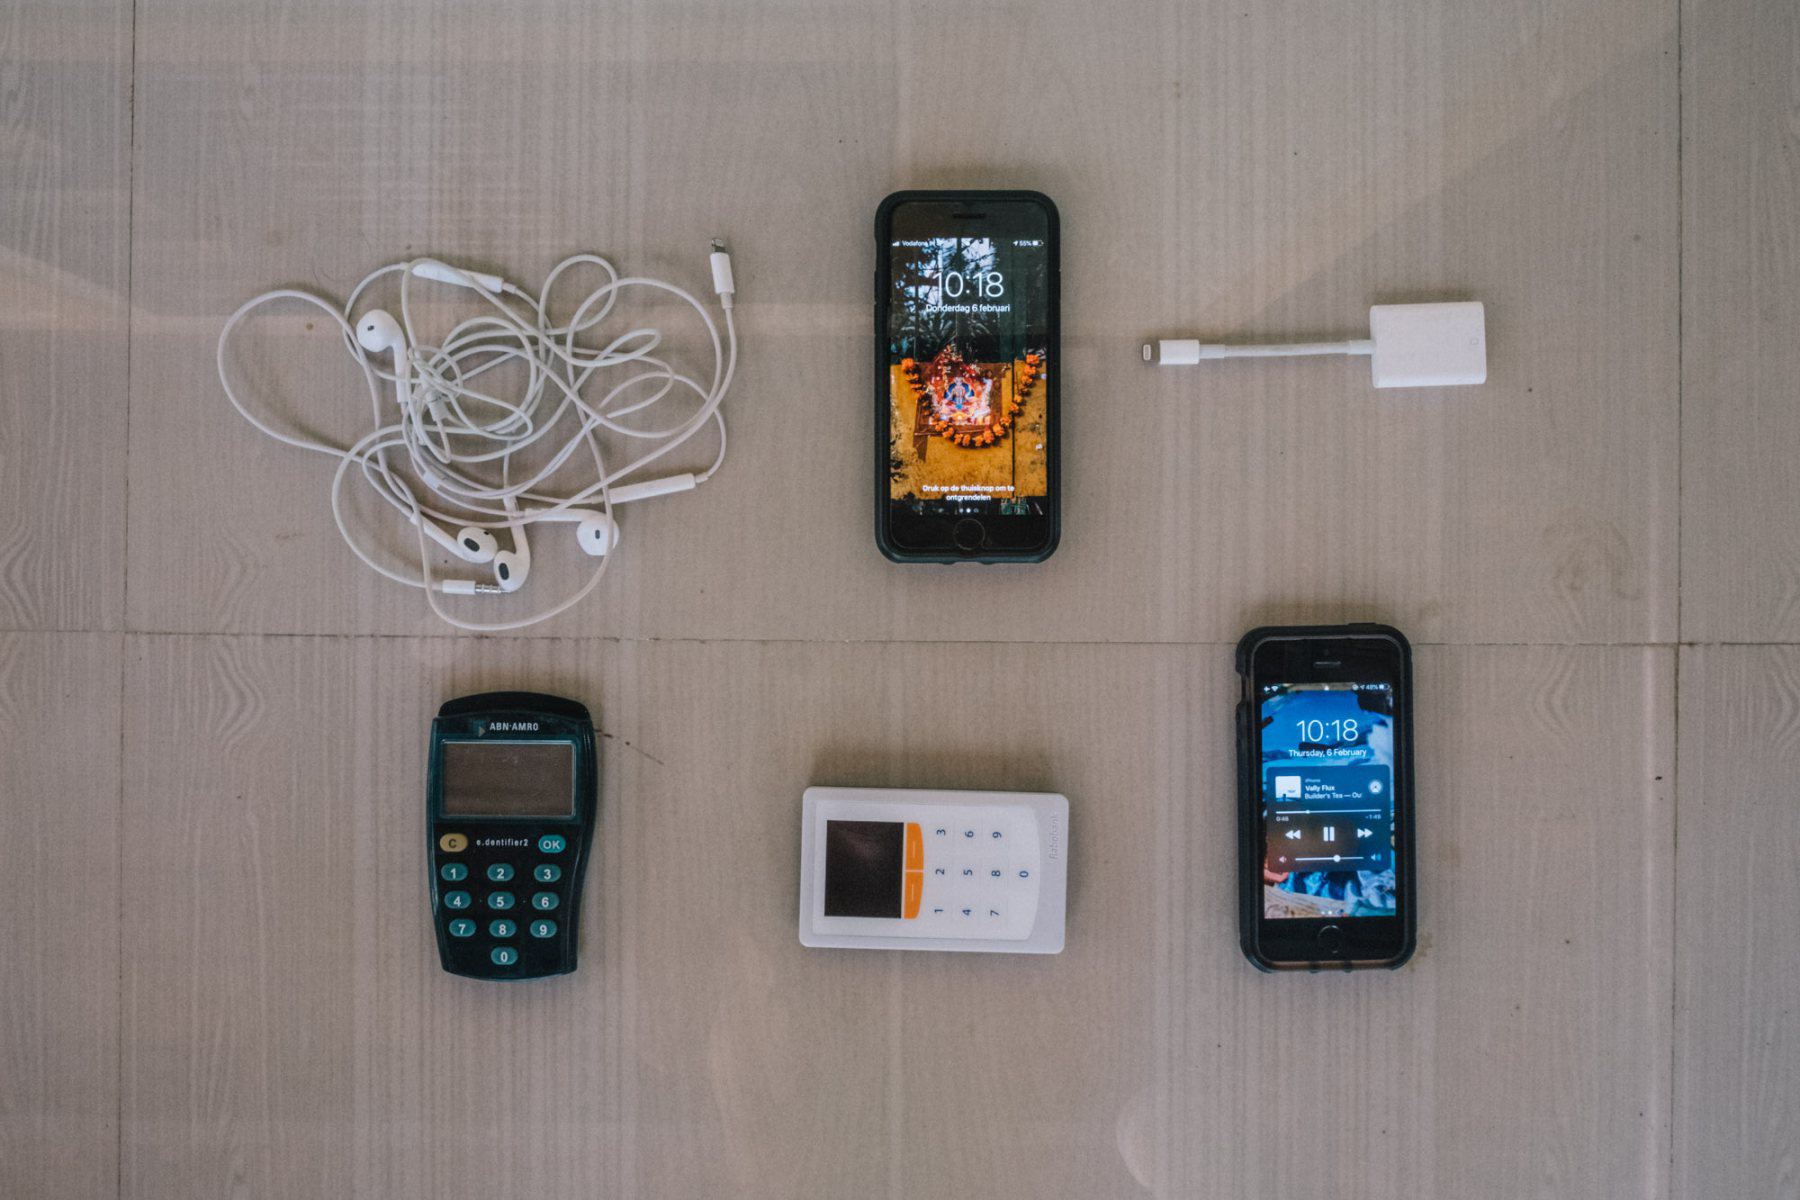
    Listening to Spotify, checking our Facebook and Instagram and connecting with family and other cyclist is all done with our iPhones. Robin is still using his old-fashioned iPhone SE, while Sabina uses an iPhone 8. In almost every country we buy one or two local SIM cards to stay connected (depending on the possibility to create a personal hotspot). The phones are also used for navigation with apps like iOverlander or Maps.me. We don’t really use the phones for taking photos and videos, since the quality of the footage doesn’t even come close to the cameras we’re carrying. Occasionally we need to deal with an extra level of security while online banking. So we need our banking card readers. 

    Smart phones iPhone SE & iPhone 8
    Earphones iPhone

    Navigation and safety

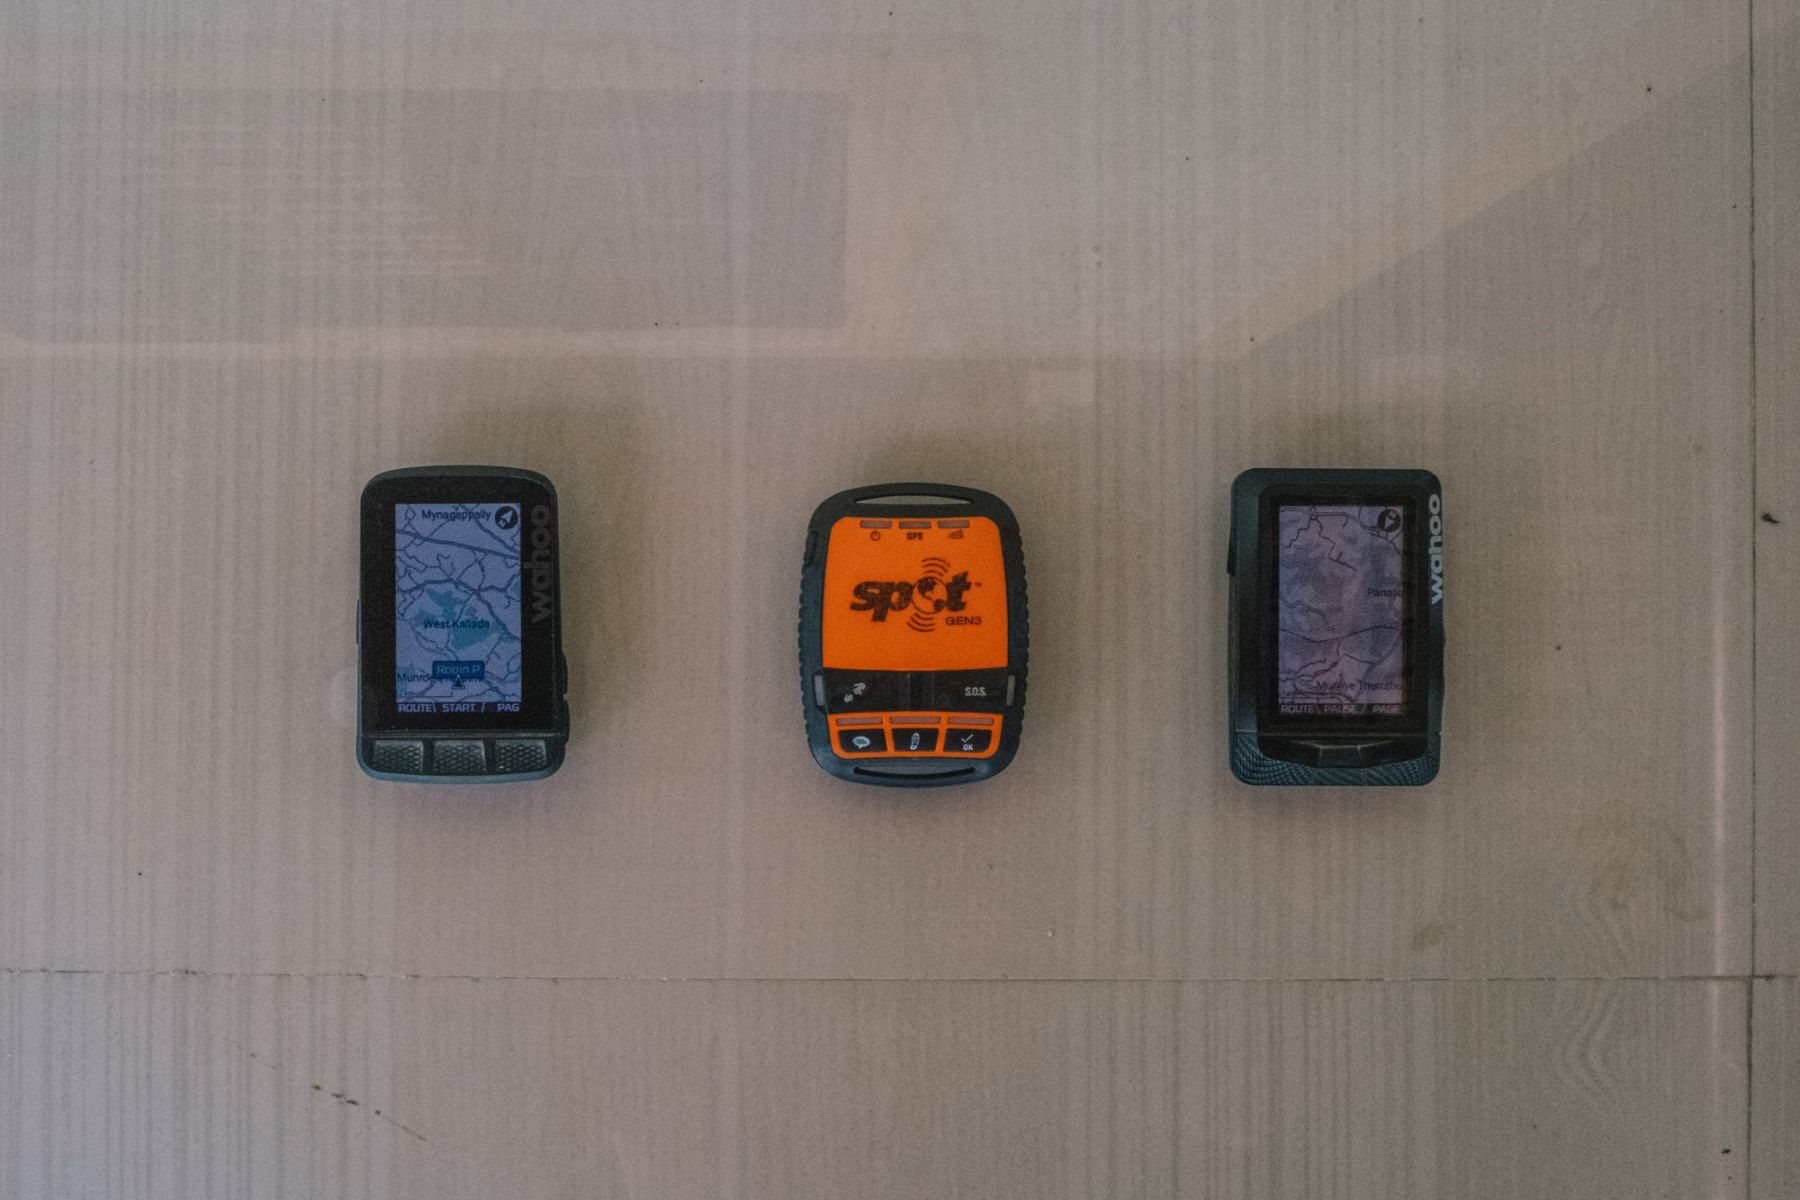
    To navigate into the unknown, we both use a Wahoo Elemnt cycling computer. We are extremely happy with the Elemnt’s battery life, user interface and connection with our smartphones. We use a regular Elemnt as well as the Elemnt ROAM. The biggest advantage of the ROAM is that it recalculates the route if we got off track. It also has a color screen which the regular Elemnt doesn’t, but that’s not really an issue because screen visibility is great even without the blue and yellow. We can share our rides instantly from the Wahoo app to our Strava and RidewithGPS feed.

    In case of emergency, but mostly for our family’s peace of mind, we carry a Spot Gen3. This is a GPS-device providing a ‘life-saving line of communication’. When we’re traveling at remote places without cellphone service, we are still able to call for help if needed. The only function we use when we’re off the grid is the check-in function. This function sends a personalized e-mail to our beloved ones, in which they can see our exact location on the map. In case of emergency we press the SOS button, which alerts emergency responders and tells them our GPS location.

    Cycling computers  Wahoo Elemnt & Elemnt ROAM
    GPS device Spot Gen3

    Chaos of cables

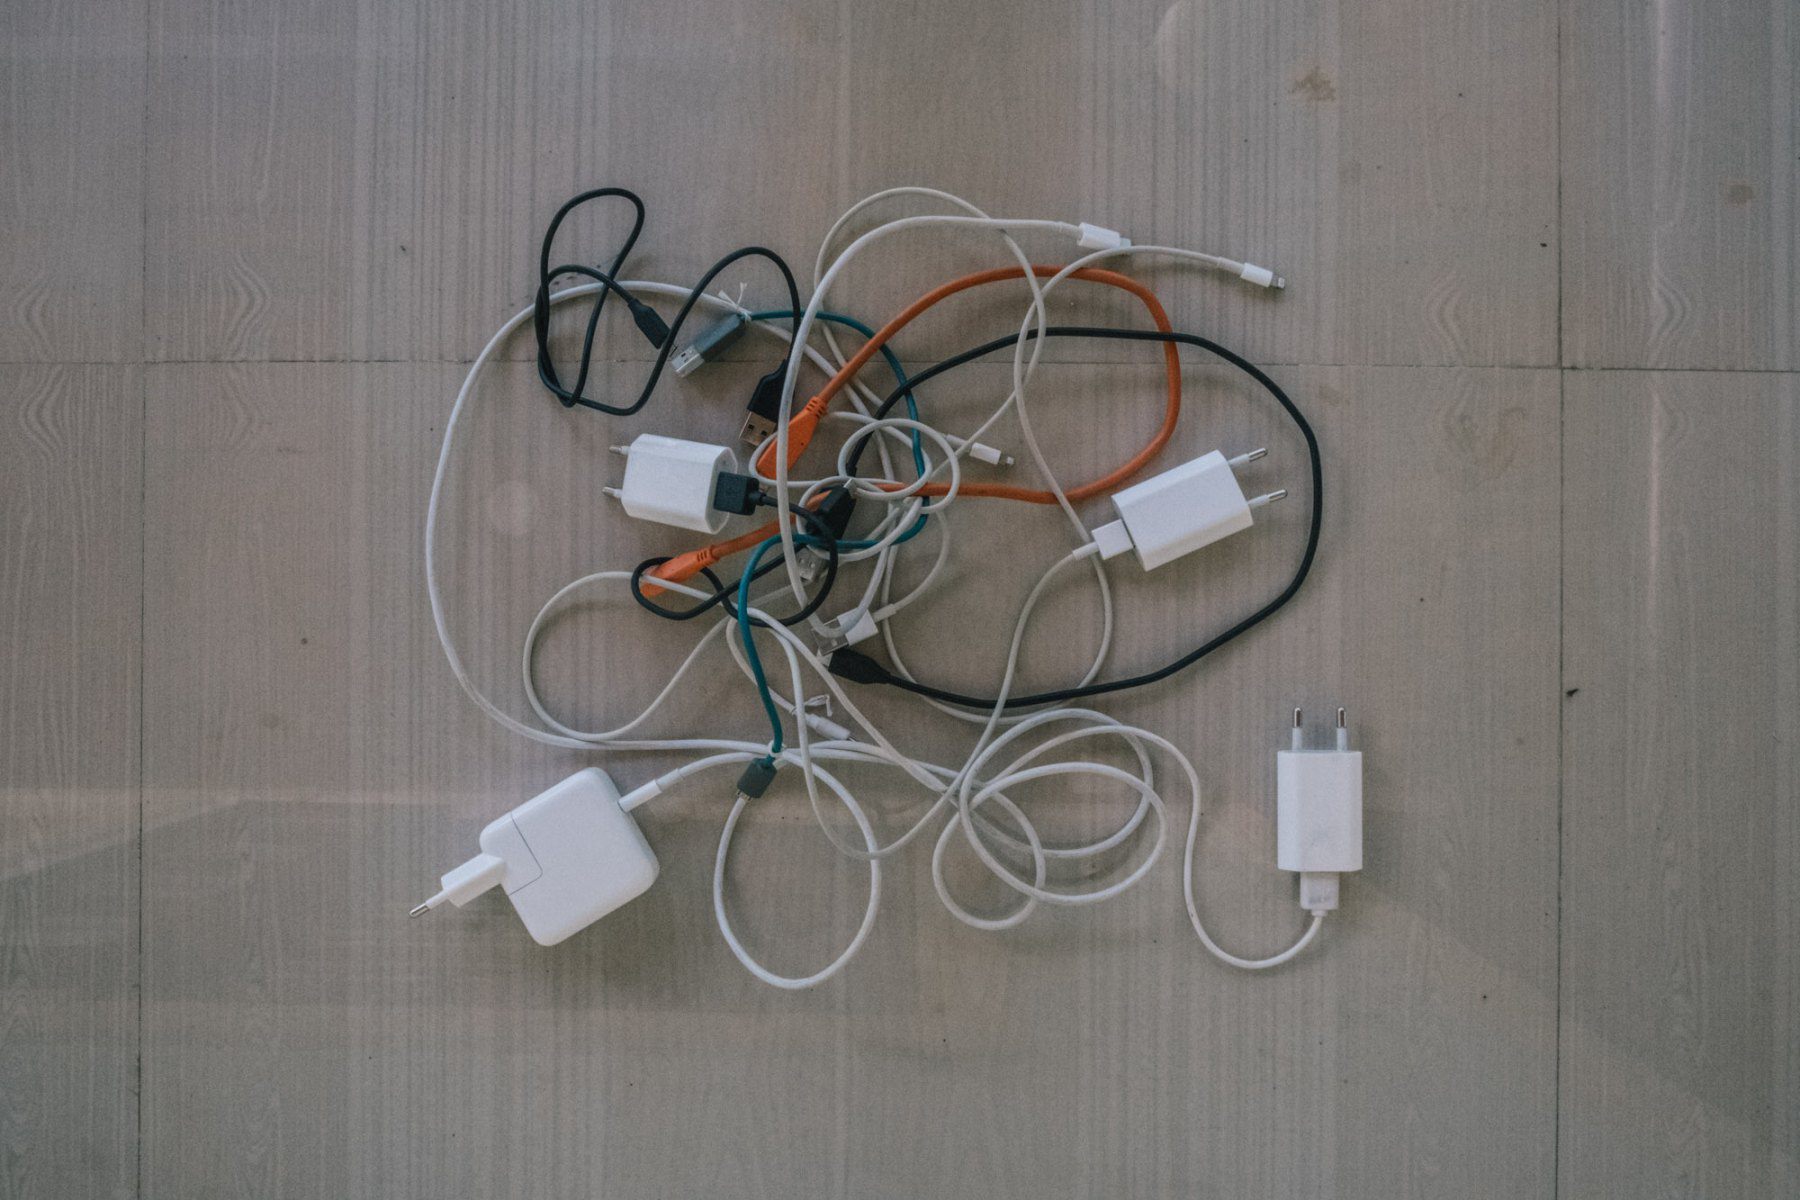
    All these devices together make for a crazy amount of charging cables. Our comprehensive cable collection consist of USB cables, USB-C cables, micro USB cables, Lightning cables and multiple types of earphones and other adapters. All of them in various lengths and colors. We keep the cables and other accessoires in separate small packing cube from Ikea. It’s a lot and it’s heavy, but it doesn’t take a lot of space in our bags and panniers. It is annoying and unnecessary to have so many different items all for the very simple use, charging stuff. We long for the day we can use one single universal cable, but for now this mess will do.

    New additions

    Ever since cycling our very first meters from Tbilisi we’ve dropped stuff and added items. In our blog about Crossing the Caspian to Kazahkstan we wrote about a parcel we shipped home. One of the items in the parcel was a MacBook charger (we each had one). We saved ourselves a little of weight, but the parcel never arrived in the Netherland. In fact, the parcel is still in Kazakhstan, since September. Thanks a lot Kazpost. We also got rid of a budget powerbank after we got one from our friend ‘Kiwi’ Sam. Josh sold us the SpotGen, since he wasn’t using it.

    To compensate the weight loss of our lost MacBook charger we bought ourself a bluetooth speaker. A JBL Go 2 mini speaker is making its way to Sri Lanka together with Robin’s family. We both really miss listening to music together, so we can’t wait to listen to some decent tunes, and add another charging cable to our extensive collection. 

    If you have any questions about our gear, fire away. You can send us a message on Instagram, Facebook or contact us here

    Don’t forget to follow us on Instagram!

  • Did we make a mistake choosing panniers?

    Did we make a mistake choosing panniers?

    One of the toughest decisions we had to make with choosing our bikes, was panniers or bikepacking bags. We’d read countless blogs, peaked on every cyclists instagram feed and asked around in different stores. We chose panniers, but did we choose wrong? The thought of bikepacking never let us go.

    What are we even talking about

    For the non-cyclists who somehow ended up on this blog, first let us define the difference between the two options. Panniers are simply said bags that hang on the side of a rack. The word panniers originally refers to bags slung across the back of an animal (such as a horse or a donkey).

    The load in the bags would be hung down on either side of the animal. This way the distribution of the weight is lower so that the animal, or in our case the bike, won’t be as off-balance, and distributes the weight evenly.

    The deal with bikepacking

    Bikepacking bags, which can also be referred to as a bikepacking set-up are kind of like a backpack for your bike. Like a backpack, where you attach the bag with straps close to your body, you strap the bags to the bike. There are multiple ways to do this. You can attach a frame bag within the frame of the bike, using up the whole triangular space or just a part of it. 

    A bag can be attached to the seat post underneath the saddle, referred to as a saddle bag. The tubes of the frame on your bike all have their own names, and for every single one of them, a bikepacking bag manufacturer has thought of a way to attach some storage room.

    We took a chance

    We had numerous reasons for our decision to go with the good old panniers. Stability, easy packing and mounting and dismounting of the bags. Enough place to carry all that we need, the ability to store stuff on top of the panniers. Besides, it looked like (almost) everyone else on a trip as long as ours was using panniers. And it’s a lot cheaper than those expensive bikepacking bags. Because they look cool, but they do come with a price.

    We were absolutely happy with our choice. Right upon the moment we left Tbilisi and had our first climb with a fully loaded bike. On top of our fully packed panniers, and the bike weighing 18 kg, we also had an extra big dry bag on Sabina’s rear rack. It didn’t take long for her to convince Robin to take over this bag, making his already heavy bike even heavier. Right there, at that moment we started to think of things we were going to scrap.

    Are you a gatherer or a shedder?

    You see, there are two types of bicycle tourists, gatherers and shedders. Some people find treasures along the way and carry them with great pleasure. These gatherers may even care about grams, but just cannot resist the temptation of having that special extra thing. Some might just be strong beasts, with legs that pedal as if they are made of steel. Not caring about the weight.  You guess which kind we are. 

    Listing and shipping

    In our minds we were making a list, what things do we really need and which are just nice to have. How many pairs of underwear does Robin really need? Well at least more than one, we found out. We decided on a list of things we would ship home, lifting almost 4 kg of our bikes. In Tajikistan we again shipped a parcel, ahead instead of home this time. Clearing space in our panniers for food and water, which we were told we would need on the Pamir Highway (we brought way too much).

    A good bad decision

    Having finished this difficult route, we are now sure we made the wrong decision. Which actually happened to be a good one to make. Having panniers, gave us enough space to bring practically everything we wanted to bring. It also made it easy to carry plenty of food on the Pamir. The past couple of months we have figured out what stuff we actually use, and which we could be without. This makes it a lot easier to decide what’s going and what is staying.

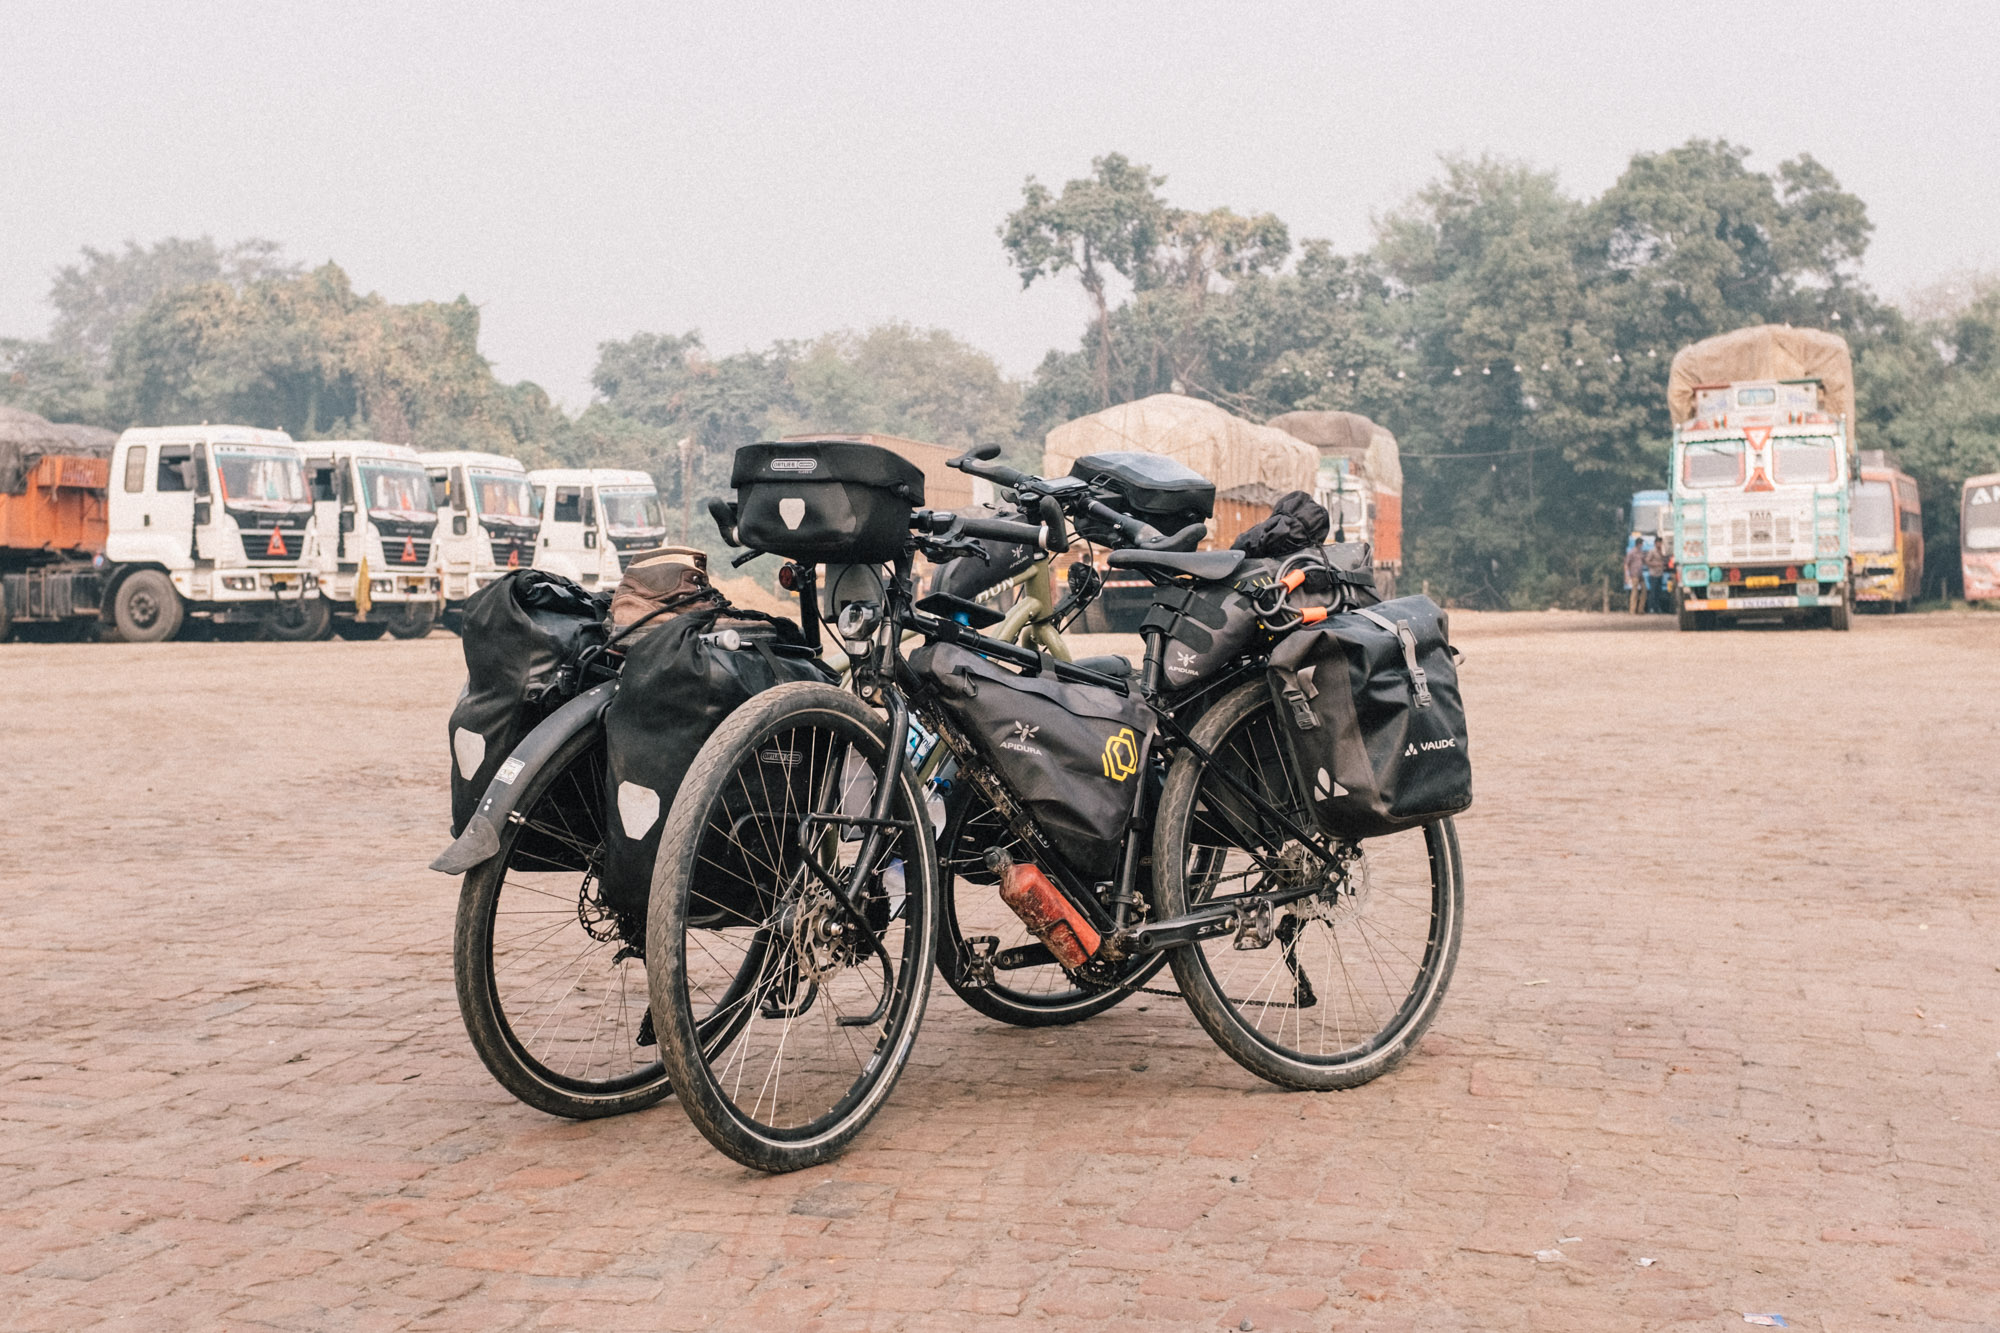
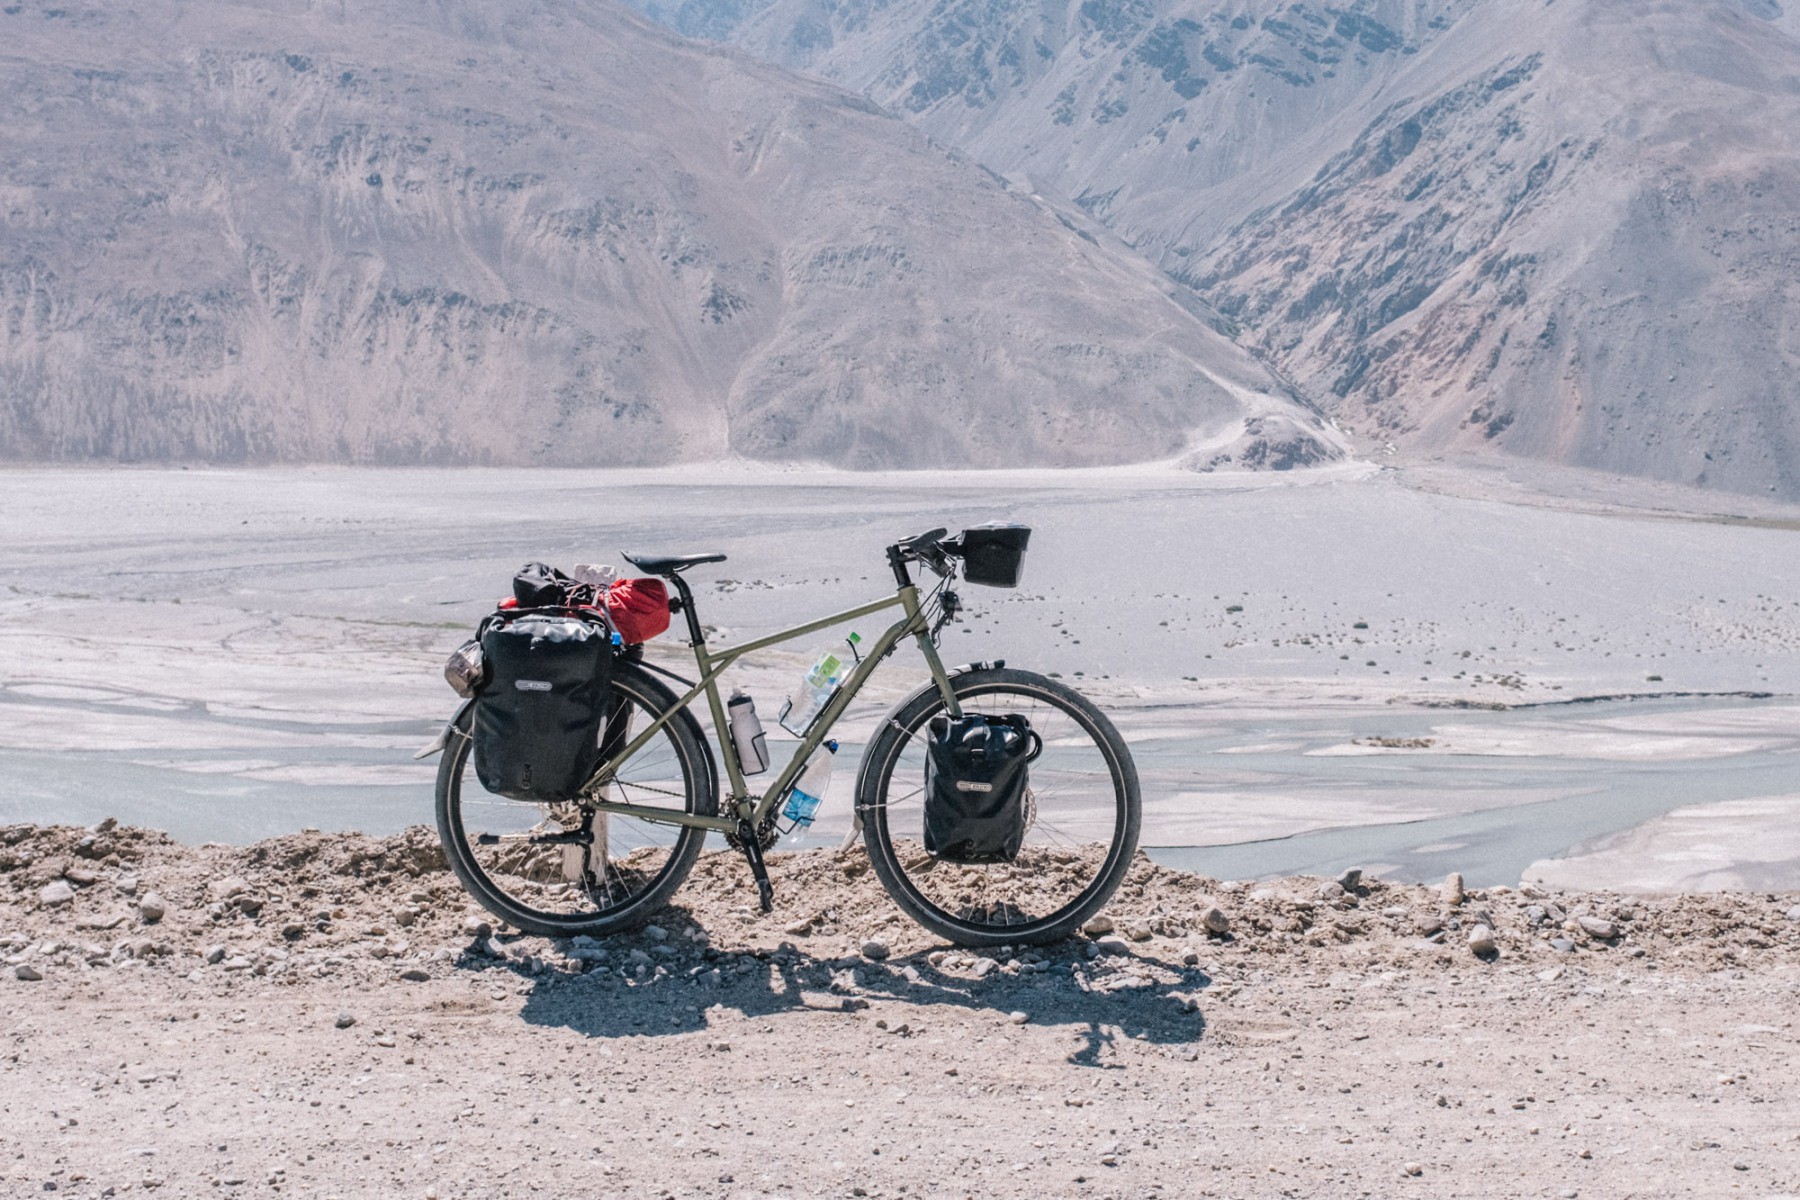
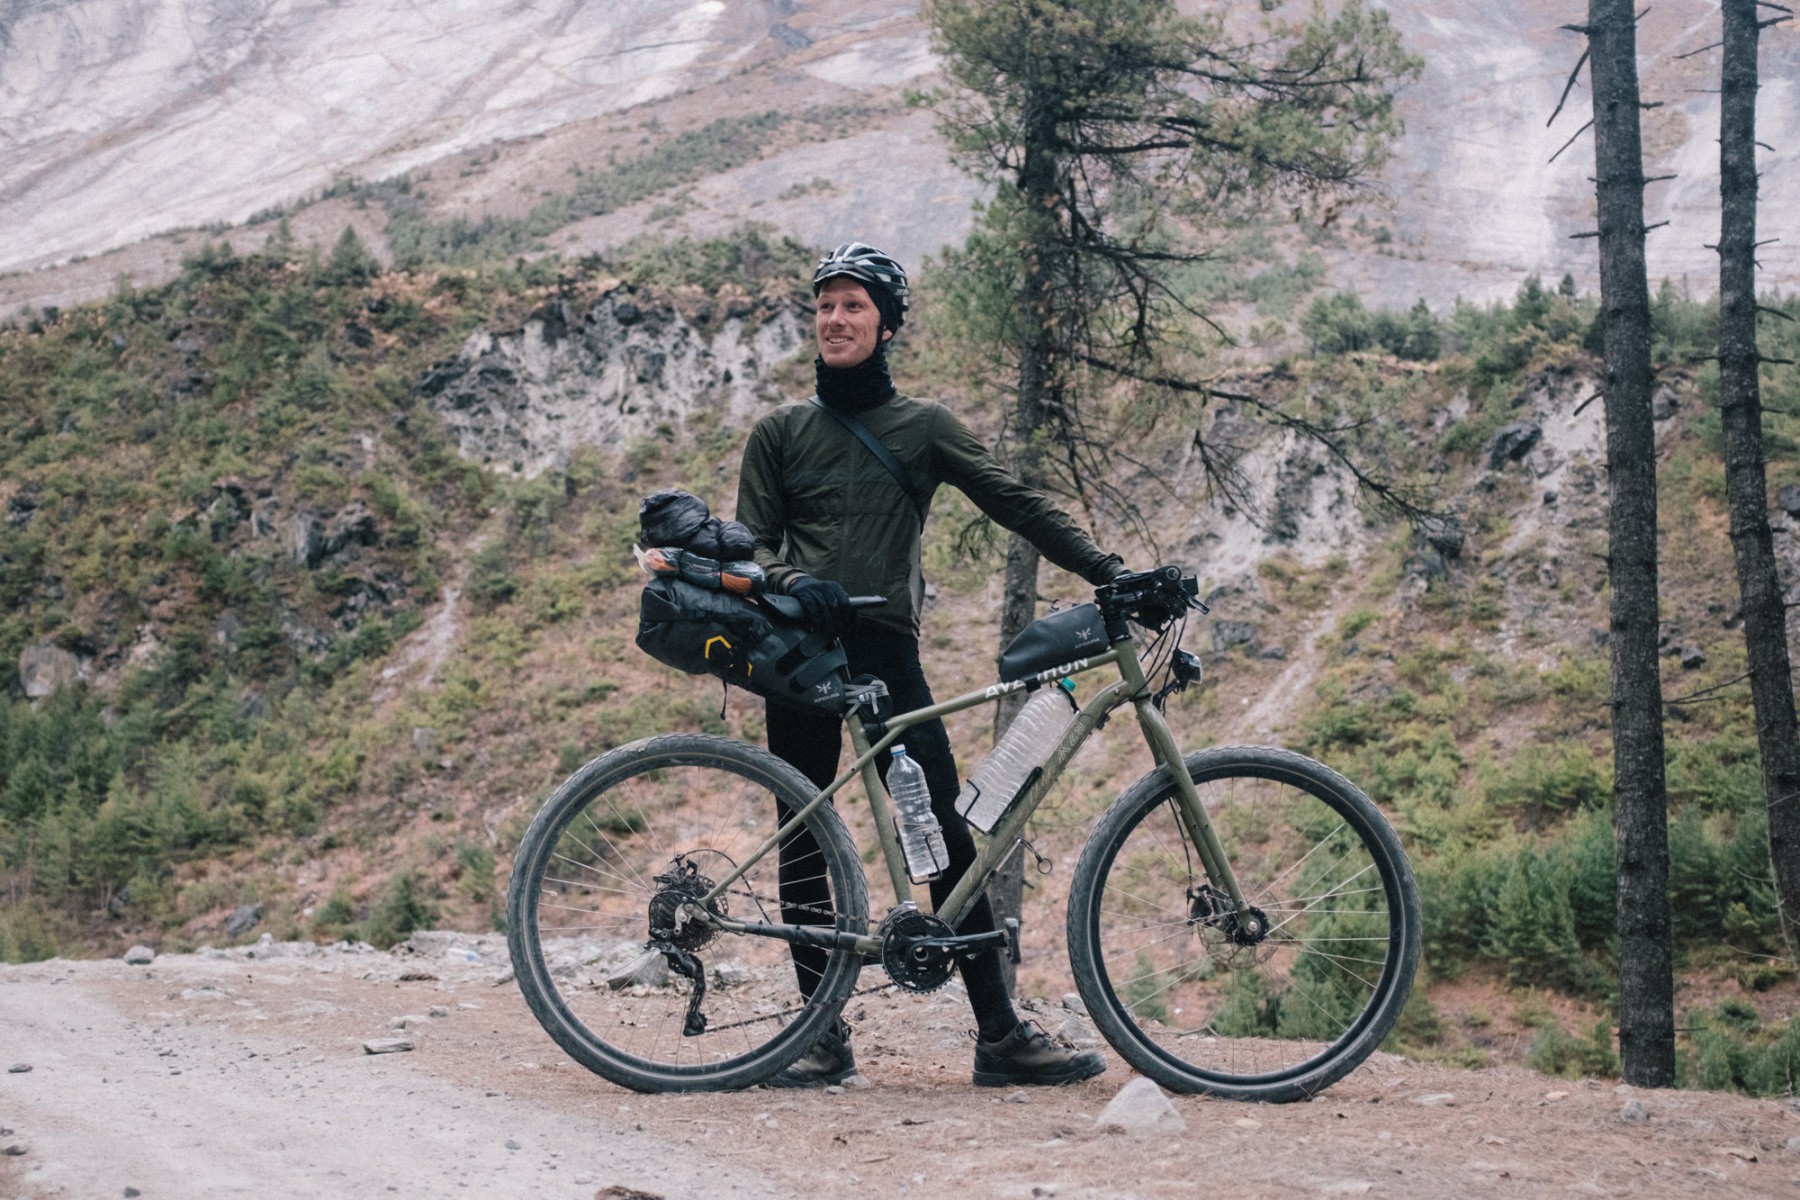
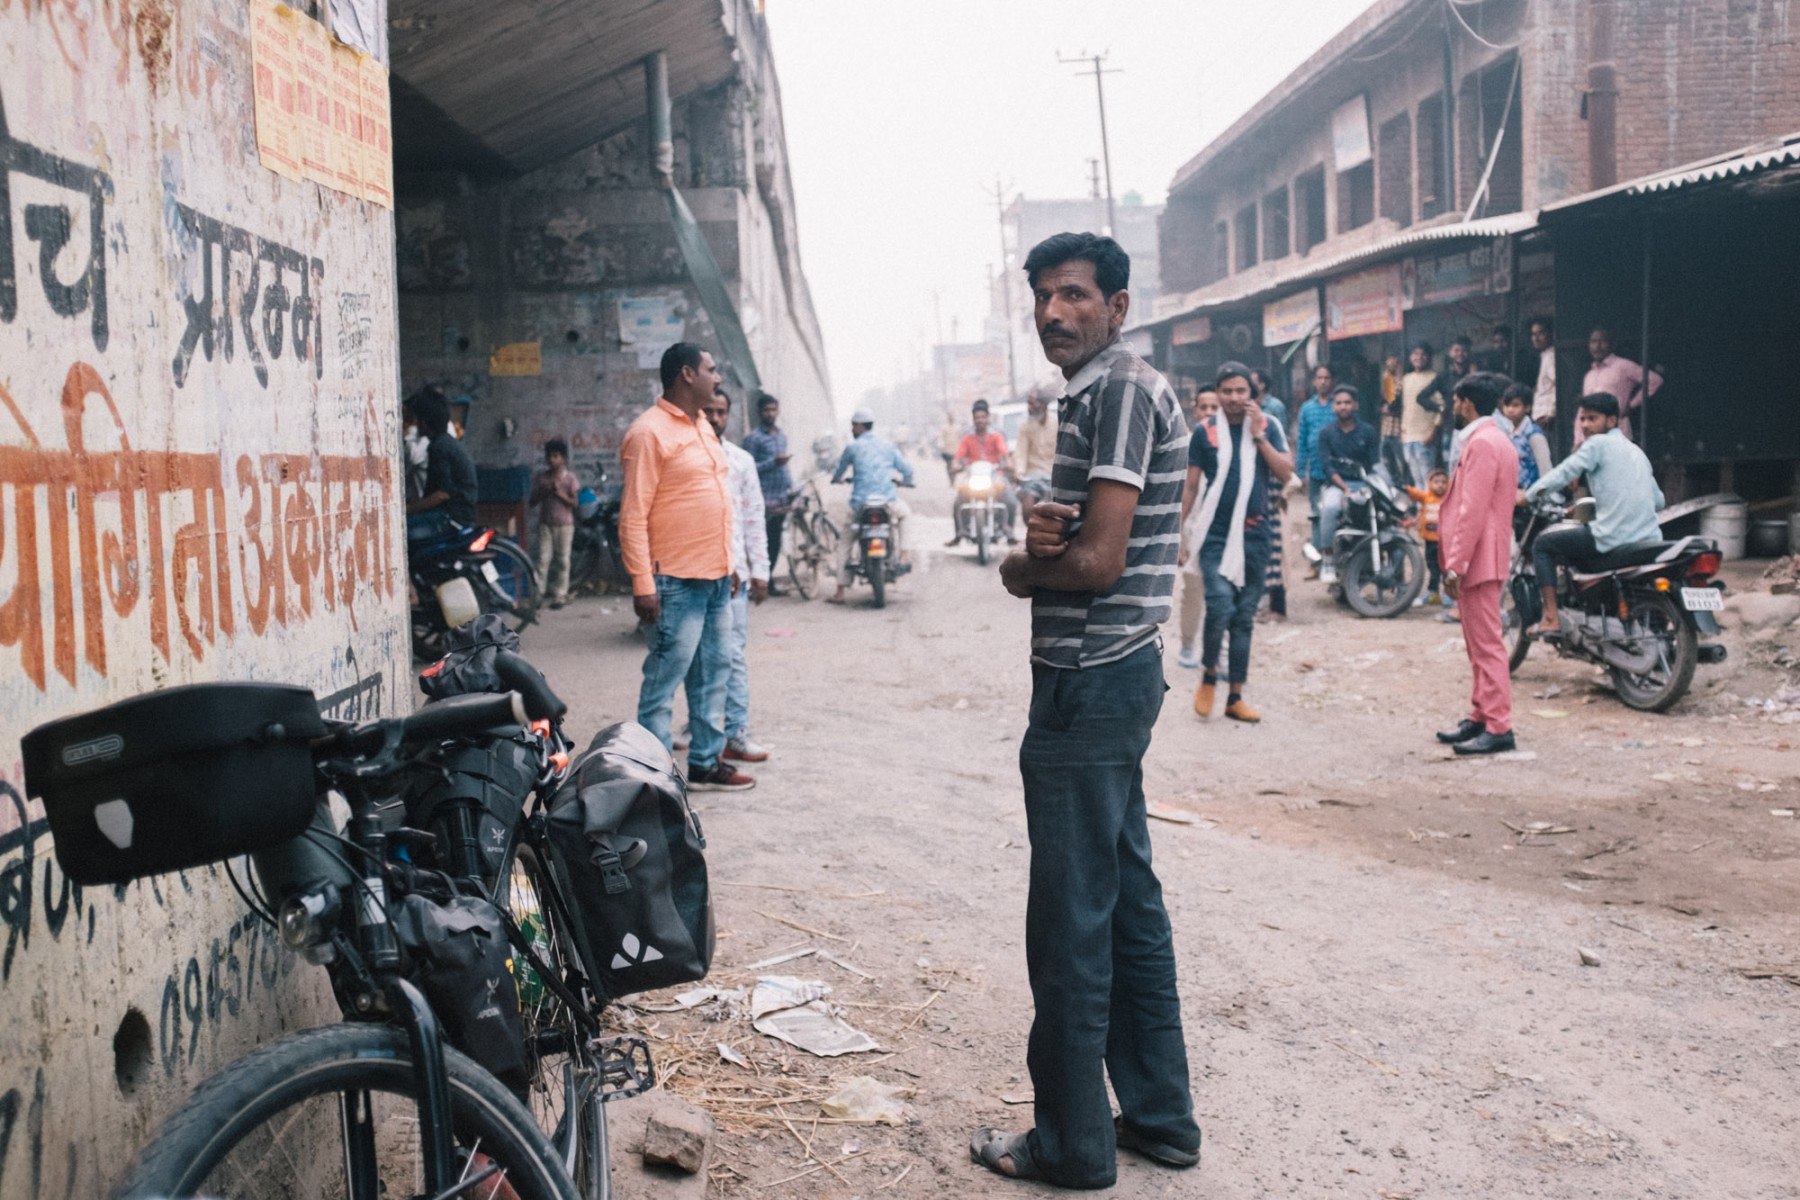
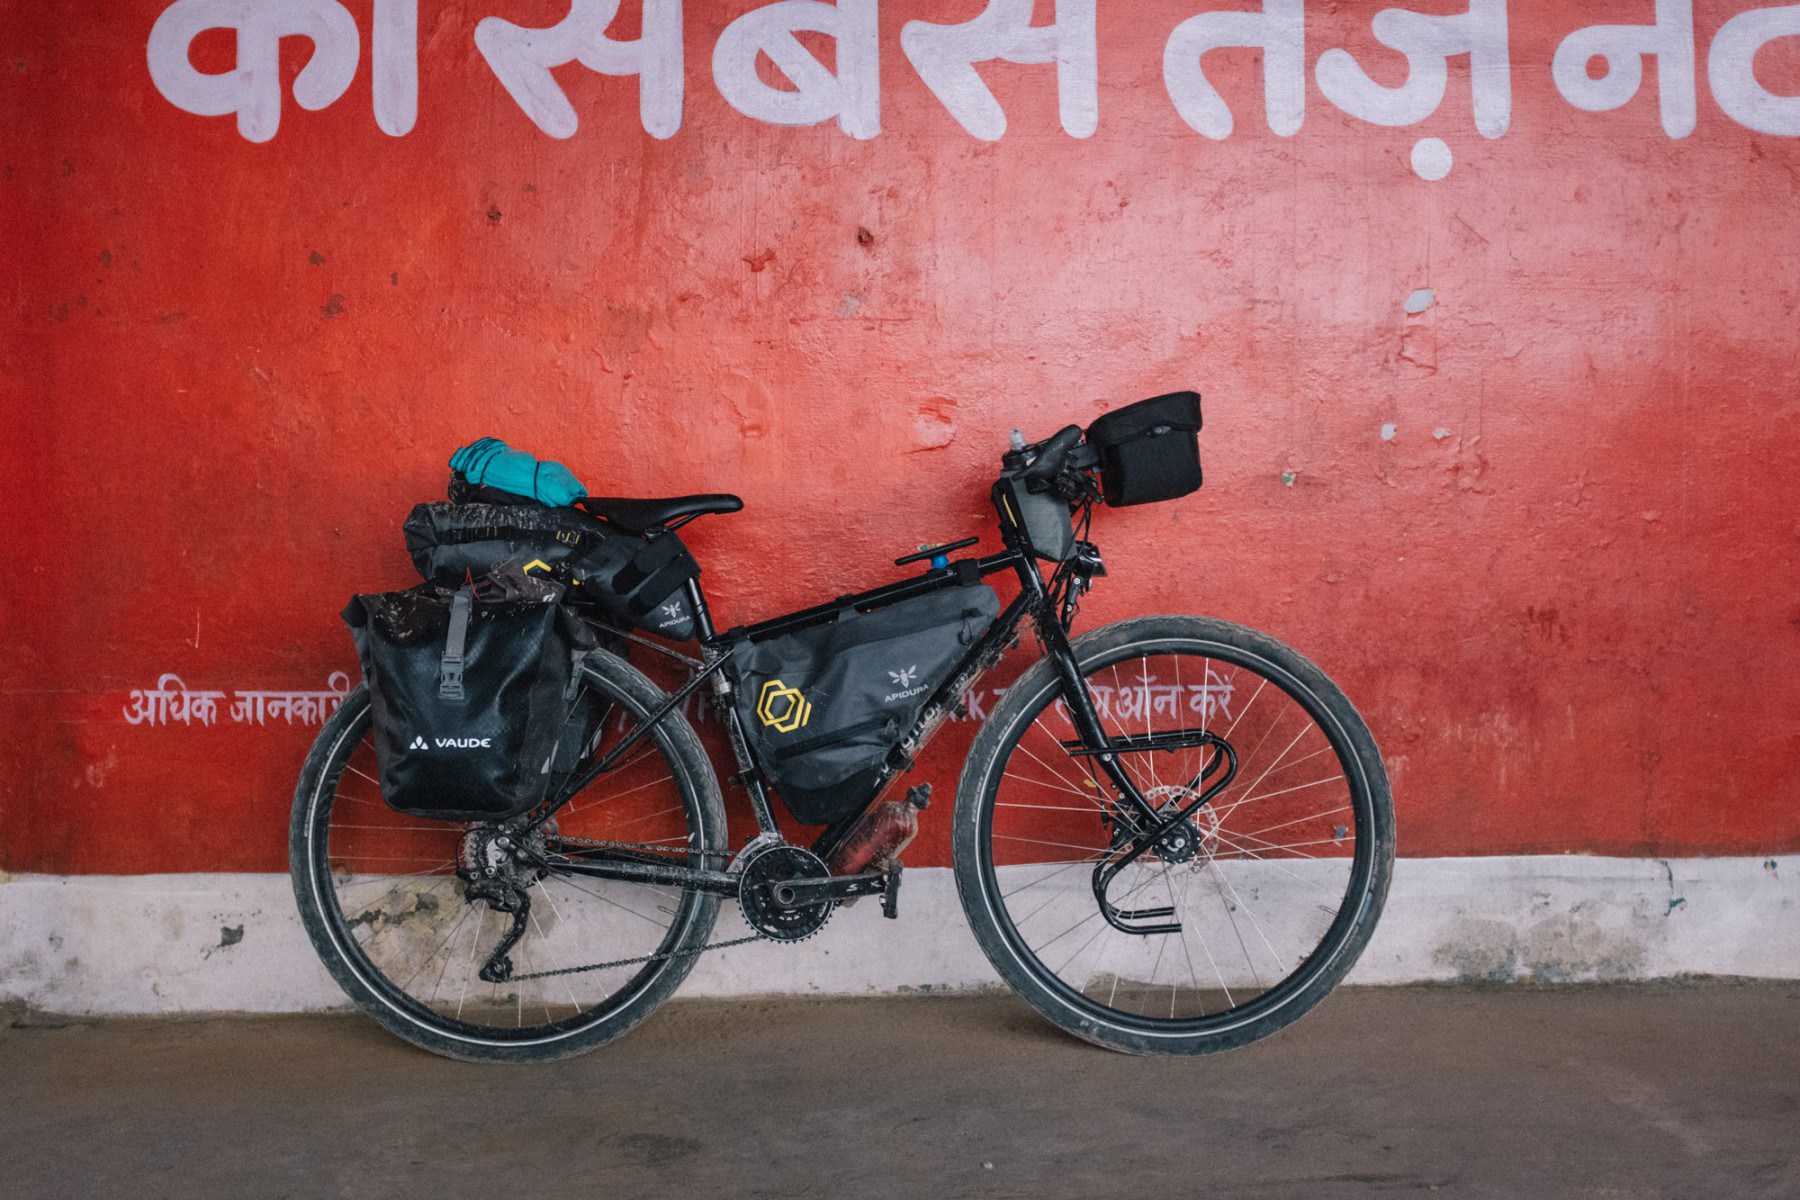
    We also got to see how other cyclists carry their stuff, some very minimal and some a bit more comprehensive. Sabina got ‘lucky’ her panniers fell apart halfway. This way we could get a refund and spend that money on the new bikepacking bags she wanted. Bikepacking bags are not cheap, so we are changing to our new set-up in steps. Sabina is now halfway there and Robin is still in the market. Our current set-up:

    Sabina’s set-up

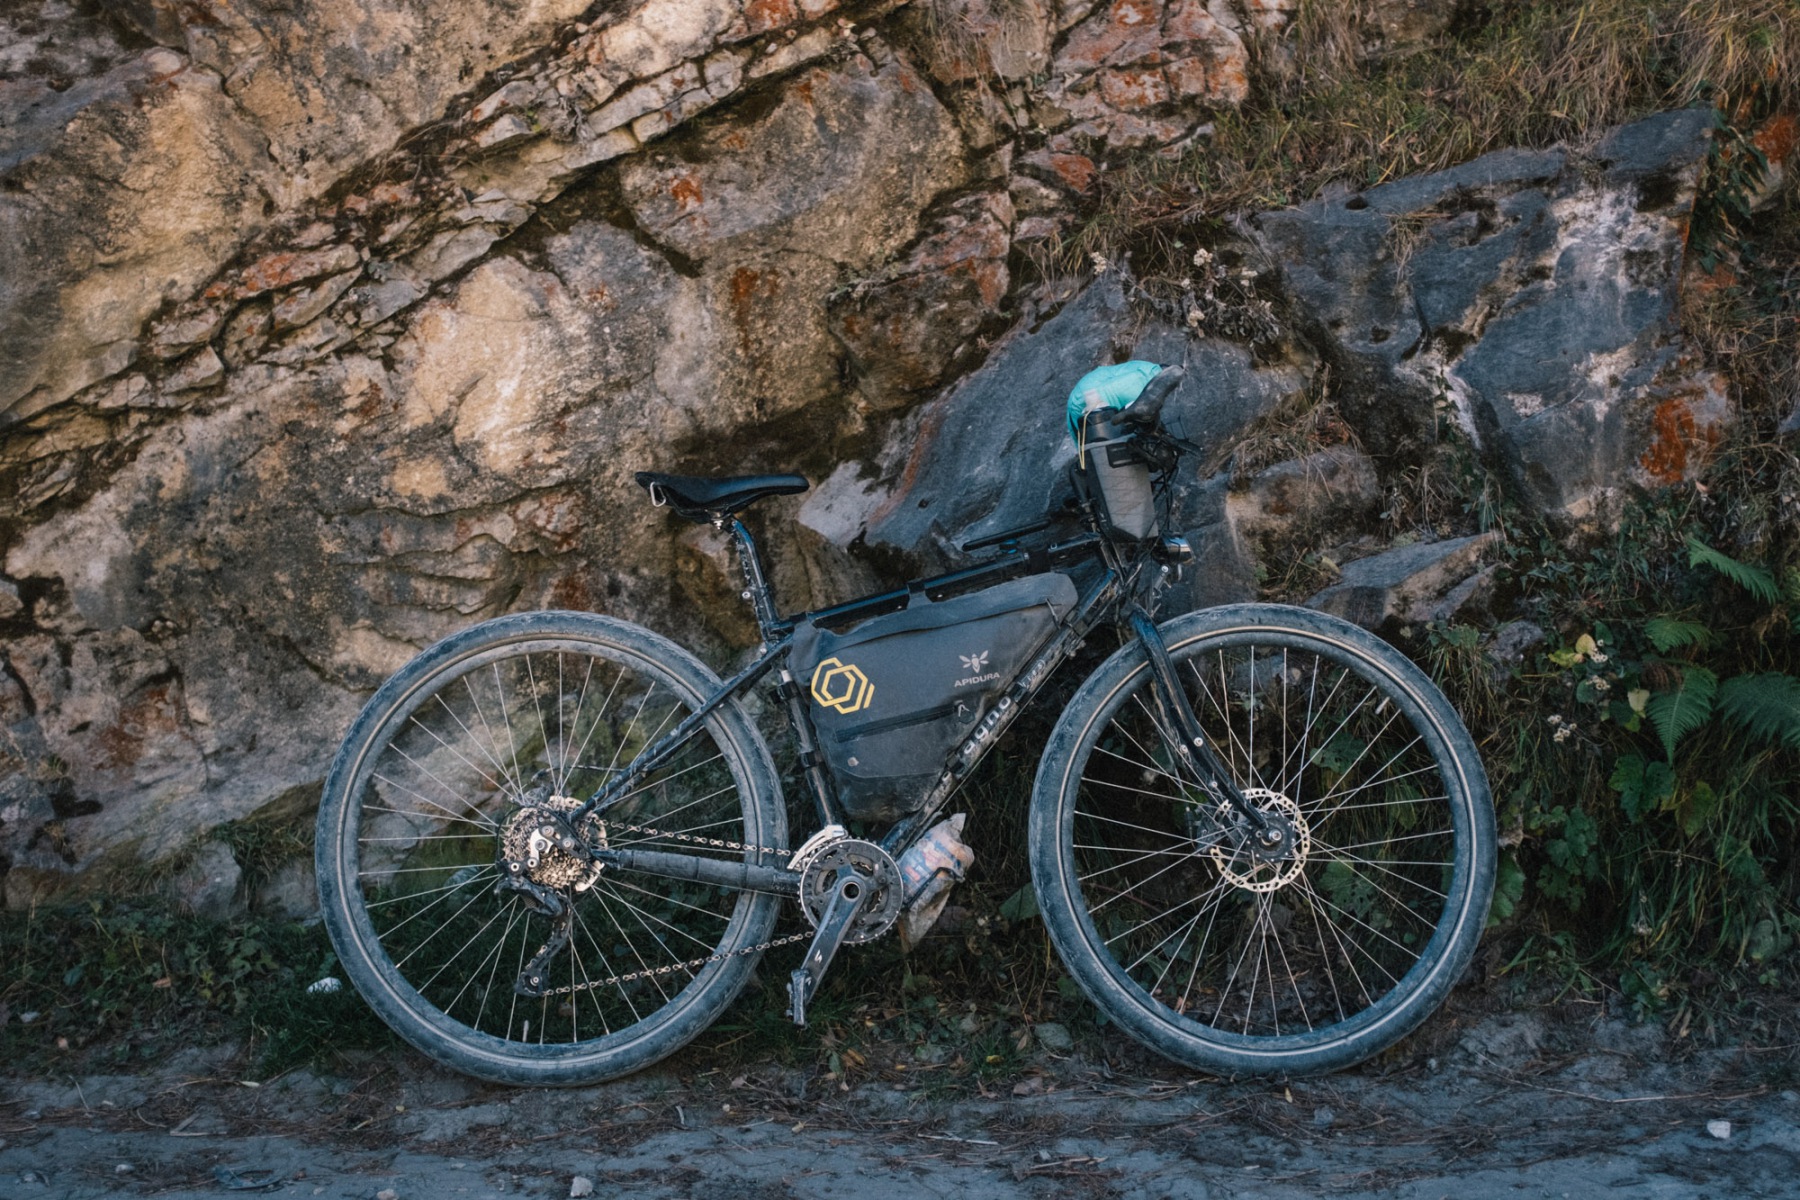
    Frame bag Apidura expedition full frame pack 7,5 liter
    Saddle bag Apidura saddle pack 14 liter
    Front panniers Vaude aqua front 2 x 14 liter
    Food pouch Apidura backcountry food pouch 0,8 liter
    Handlebar bag Ortlieb ultimate six urban 5 liter

    Still on the wishlist is exchanging the front panniers and handlebar bag with a handlebar pack and fork packs.

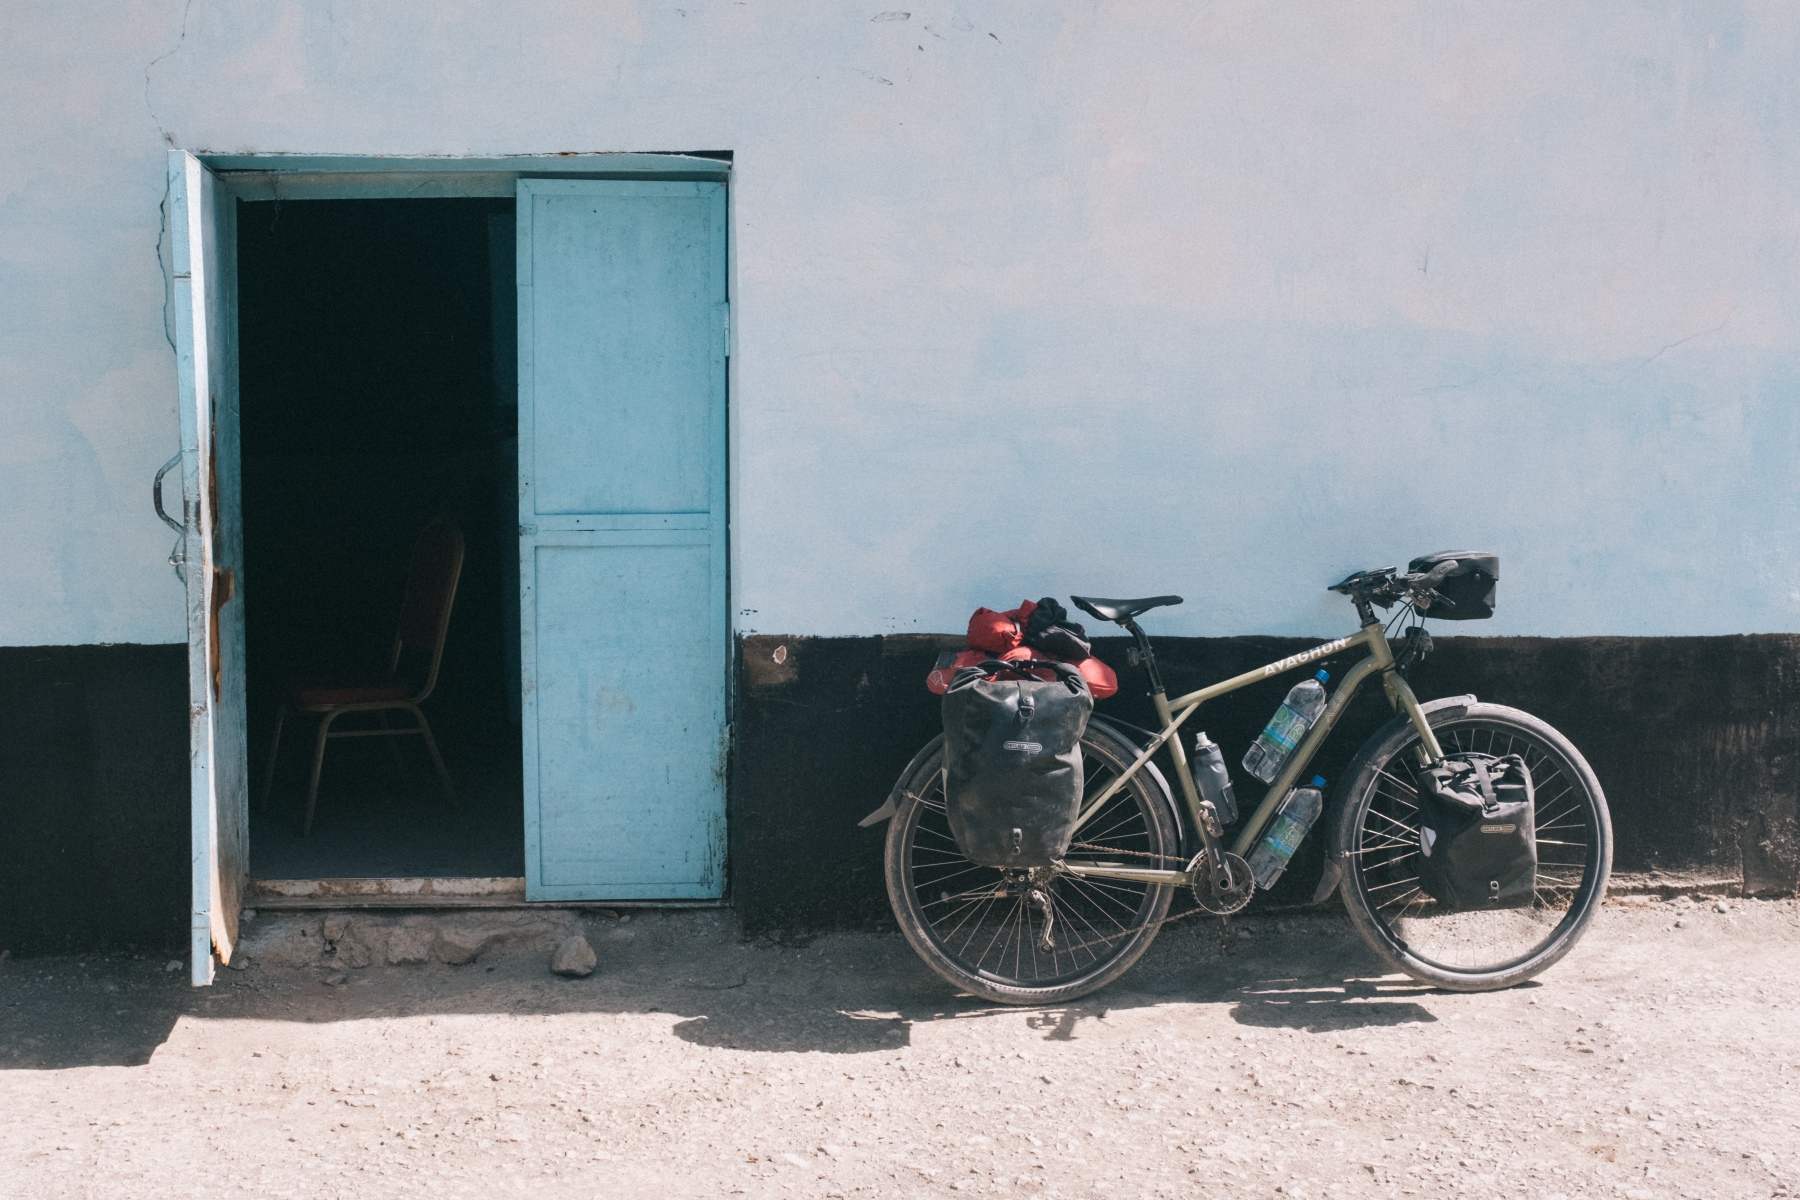
    Robin’s set-up

    Front panniers Ortlieb sport roller classic 2 x 12,5 liter
    Back panniers Ortlieb back roller classic 2 x 20 liter
    Handlebar bag Ortlieb ultimate six urban 5 liter
    Top tube Apidura backcountry top tube pack 1 liter

    Still on the wishlist is exchanging the rear panniers and handlebar bag for a frame bag, fork packs and handlebar pack.

    Winning by losing

    Being light means being able to cycle on more challenging terrain. It makes uphills faster and off-road more fun. As you might have learned from how we prepared and saved money for this trip, we don’t need much. So it won’t be as if we’re giving up stuff. We feel like we are actually winning big time here.

    Don’t forget to follow us on Instagram!